

In addition to our existing datacenter “Bunker” we decided to build a second datacenter “Trezor”, where the technology of cooling servers in an oil bath is completely used. The waste heat is then discharged into the municipal swimming pool. At the moment, the construction work has been completed and we are working on the internal infrastructure. At the end of April we blew out the optics. We learned a lot of new things and, of course, recorded everything for you.
First of all, briefly about WEDOS DC 2 alias “The Vault”

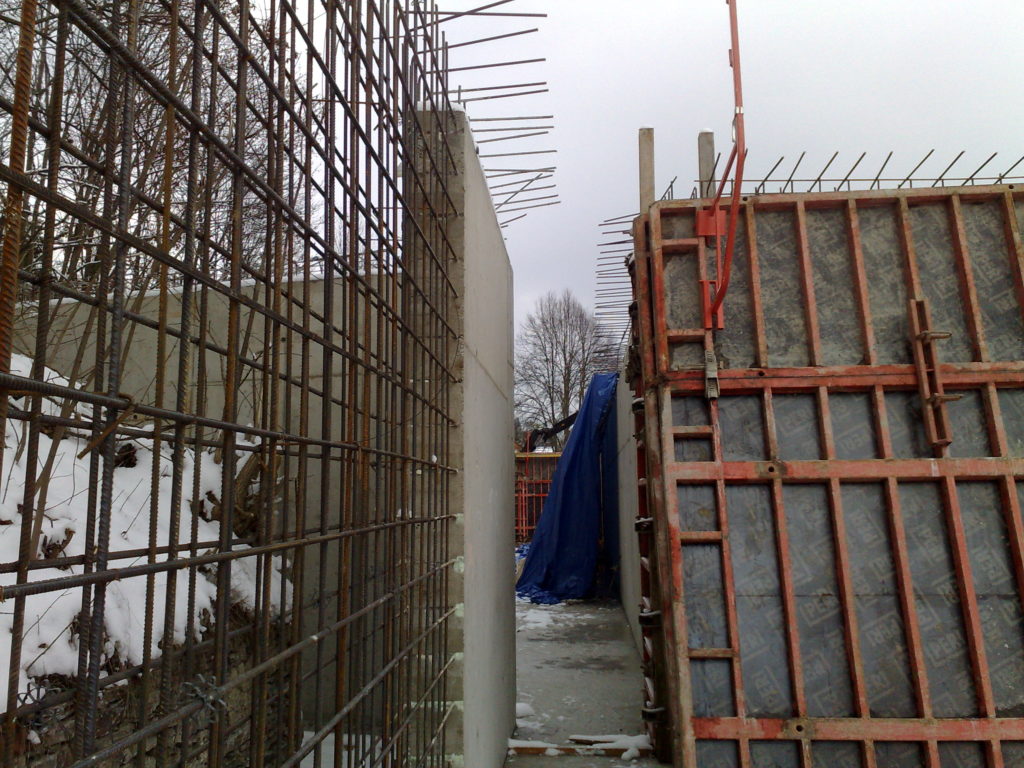
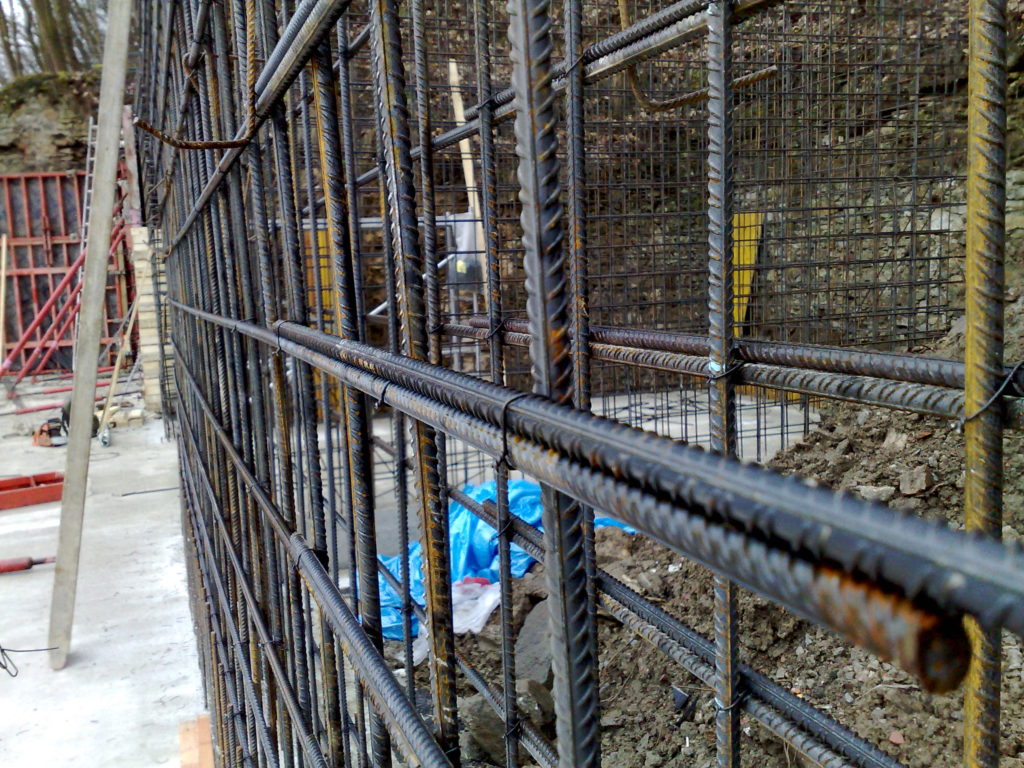
Datacentre WEDOS 2, aka “The Vault”, is a monolithic reinforced concrete structure with walls 30 to 110 cm thick. There are no panels, everything is cast and reinforced with up to 2.5 cm thick iron bars. In addition, part of the data hall is on a slope, i.e. underground.
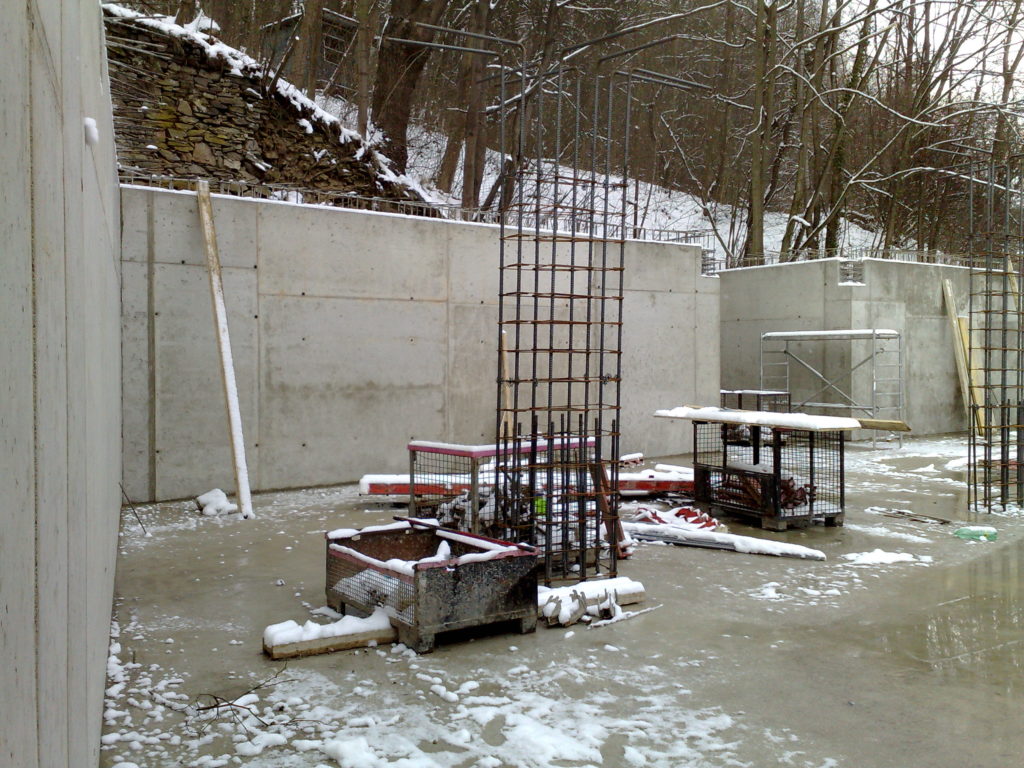
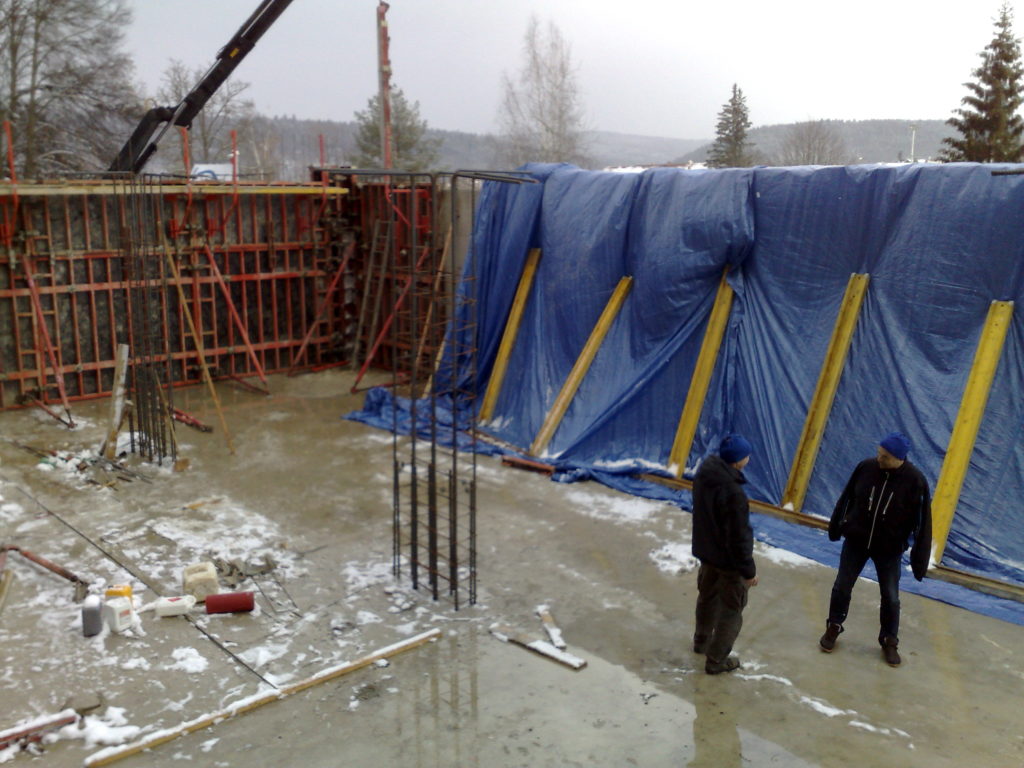
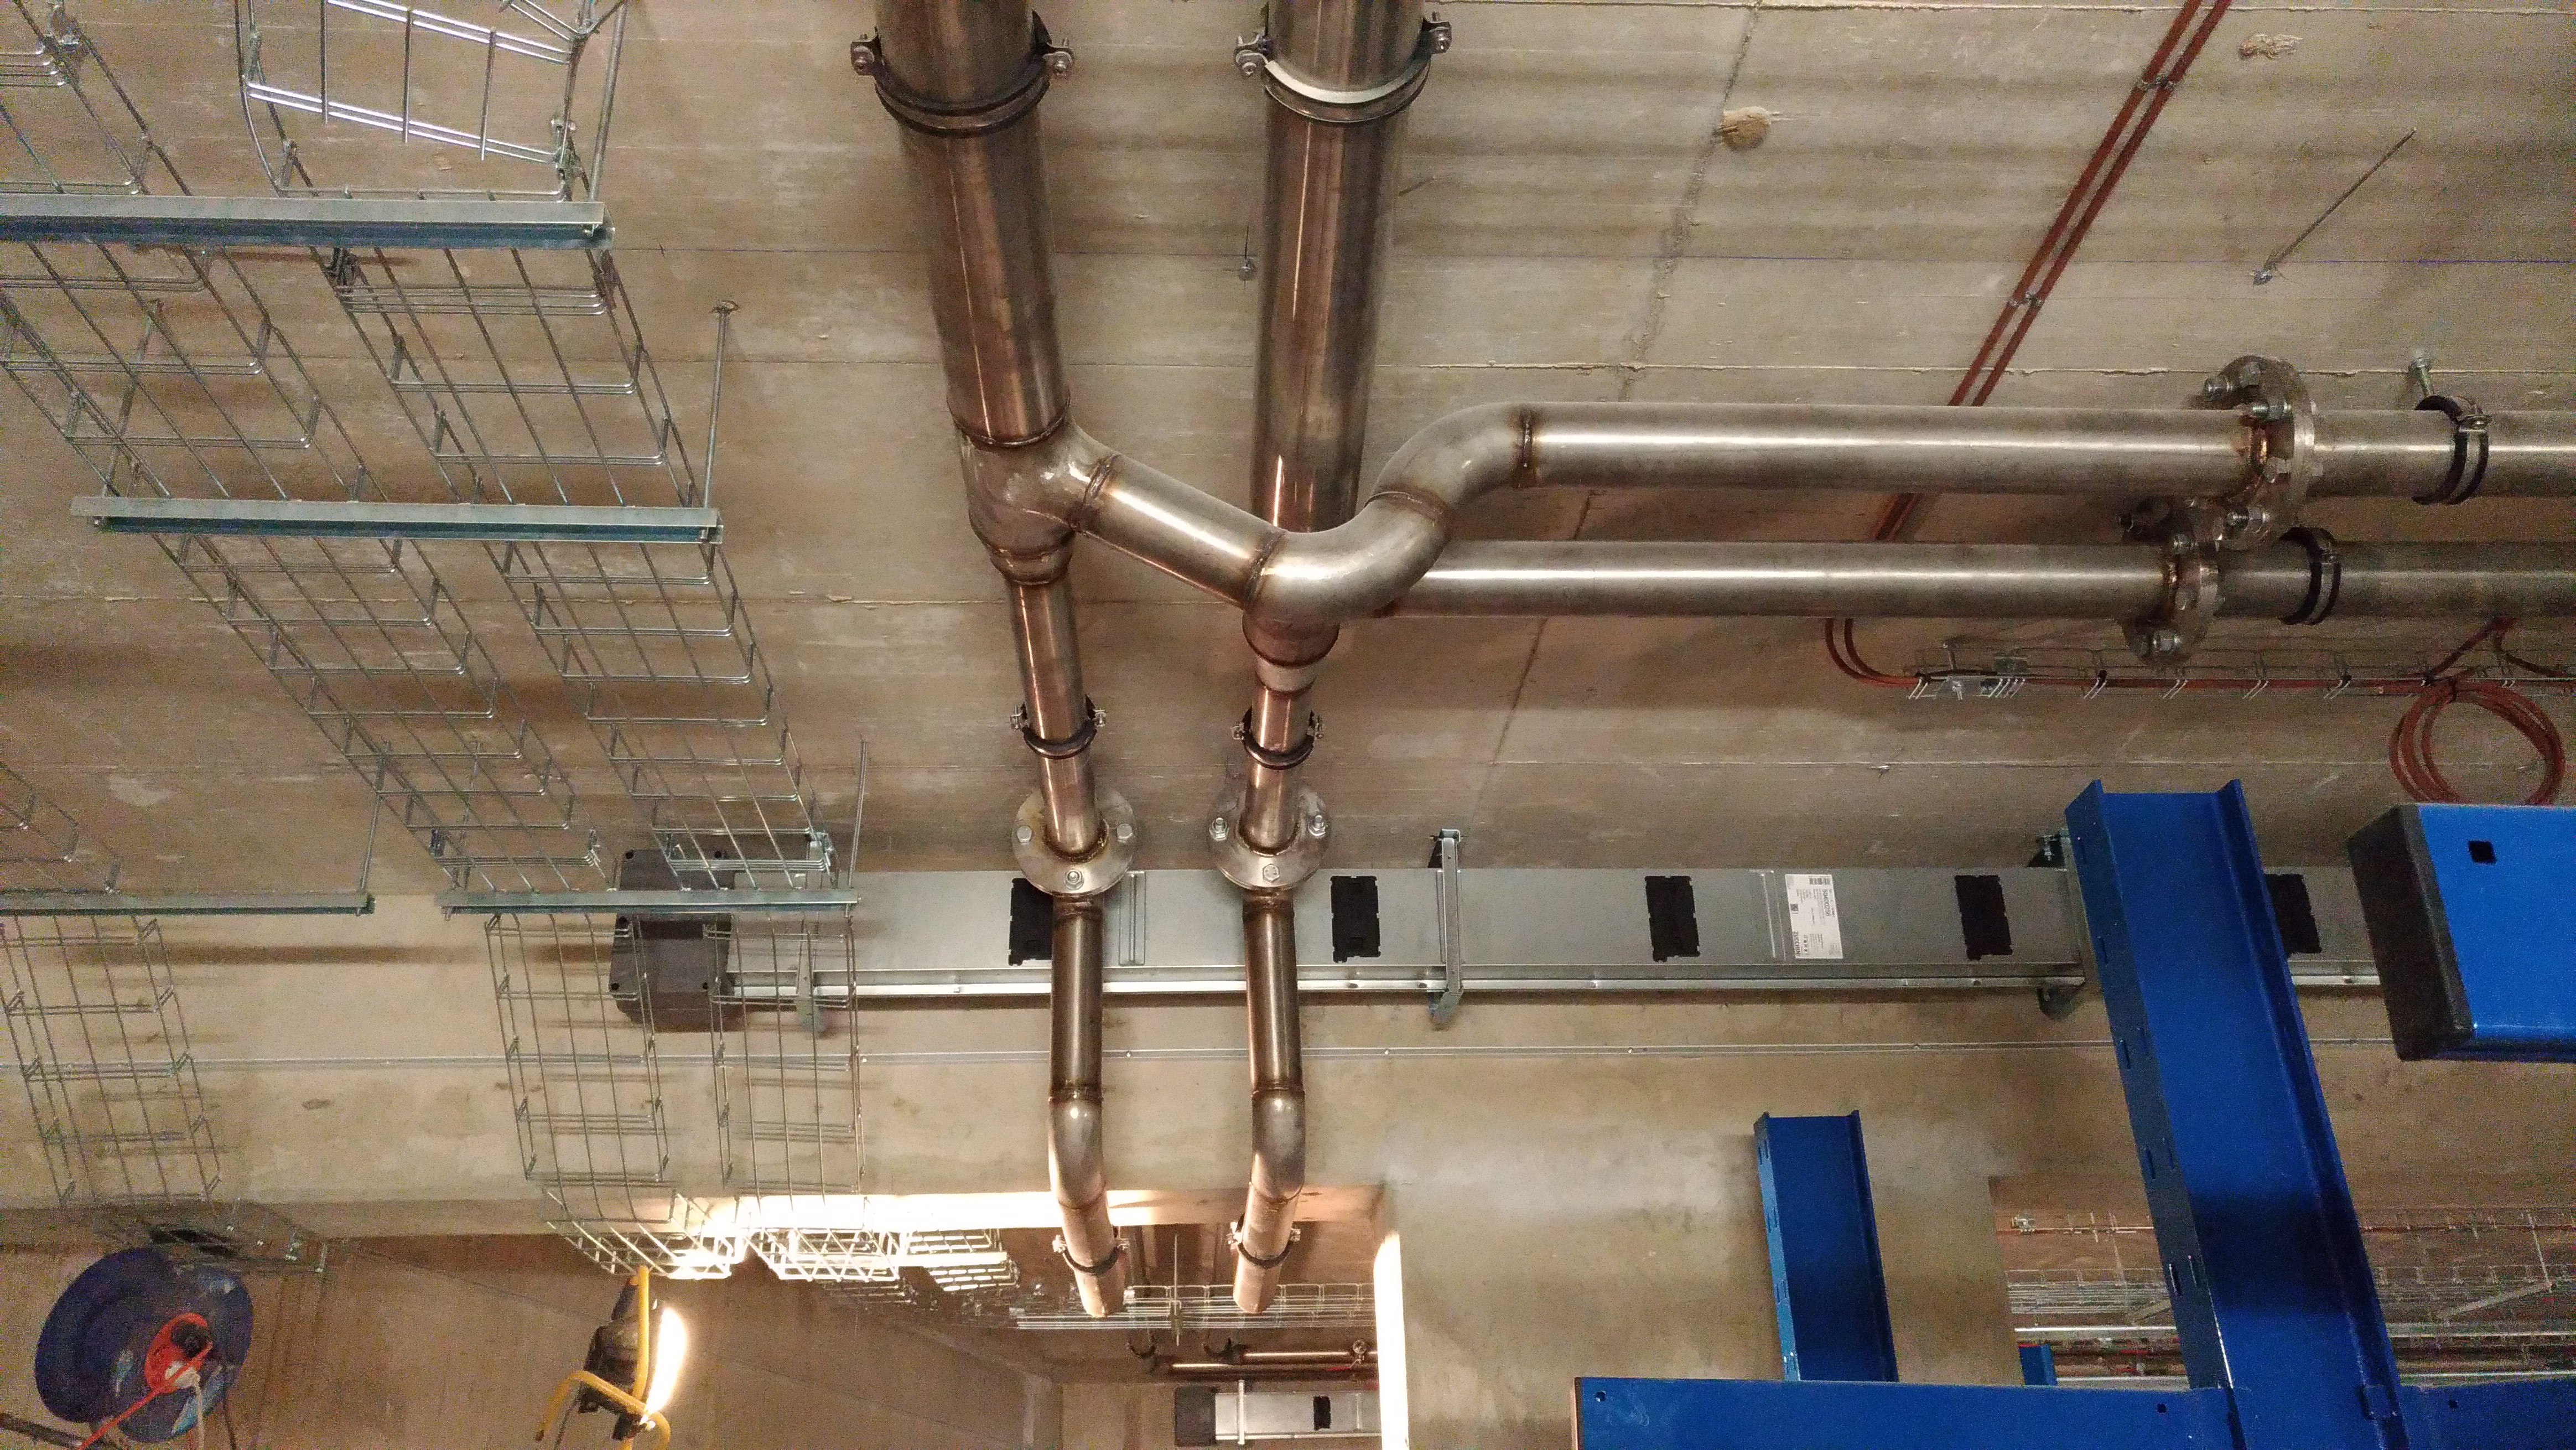
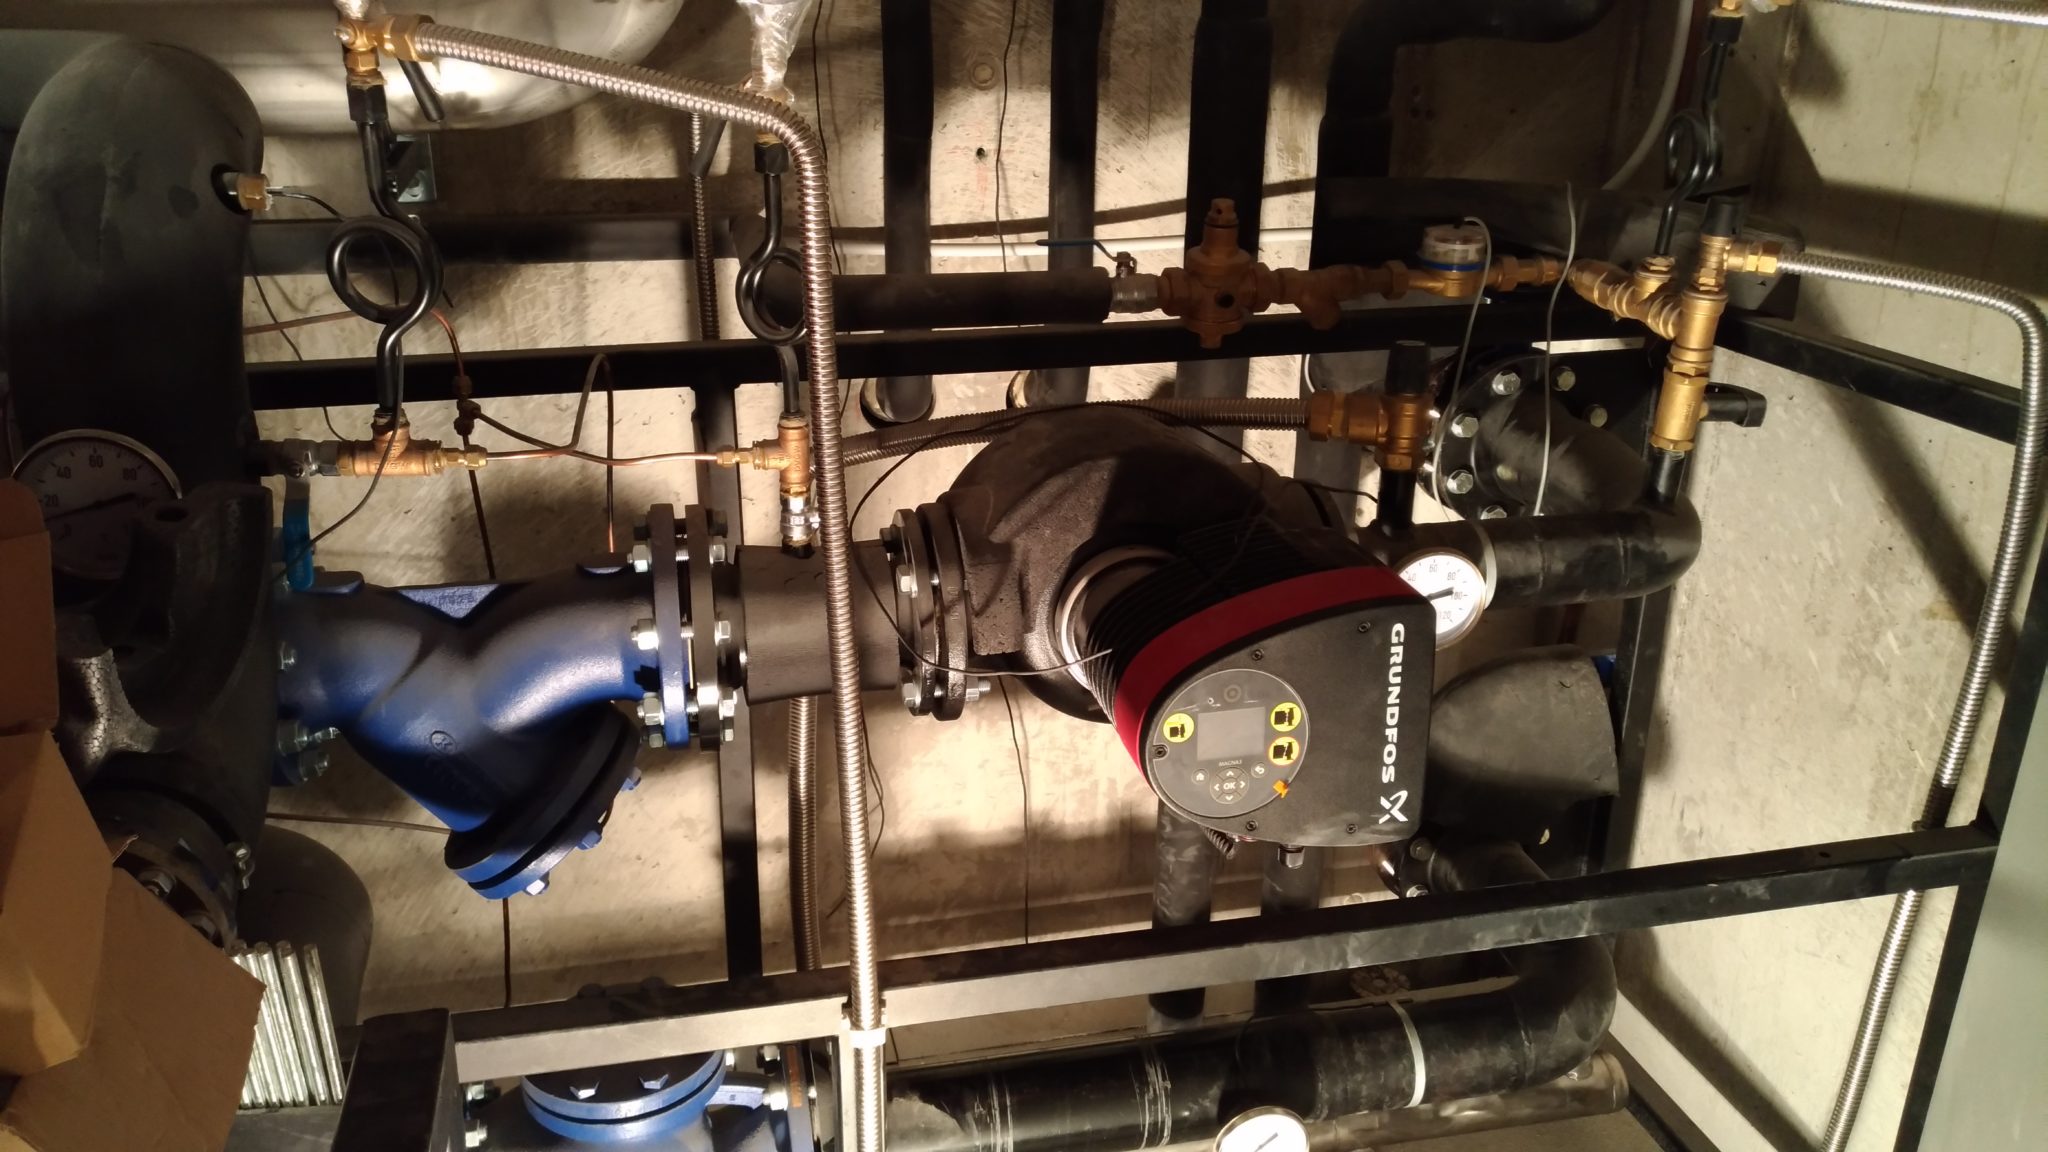
This is a unique solution that is not only very economical, but also the heat produced is used efficiently. Servers and some other technologies are cooled in an oil bath and the heat is dissipated by water cooling. Unlike warm air, which can be used very limited, we can easily take the heated water through pipes to wherever we want.

It is the first major commercial experiment that could have an impact on the future of our planet. In 2015, datacentres worldwide consumed 0.9% of electricity production. In 2025, it will be 4.5%.
If the technology we use were used, these figures could fall by tens of percent. In addition, the heat produced could supply entire cities with data centres for free! For data centres, heat is a waste that they have to get rid of somehow, while at home we pay more and more for it every year. We have no patents in the pipeline at this time. We want to present the technology, including the results, to the public. But we’ll save that for another article 😉
Datacenter interconnection
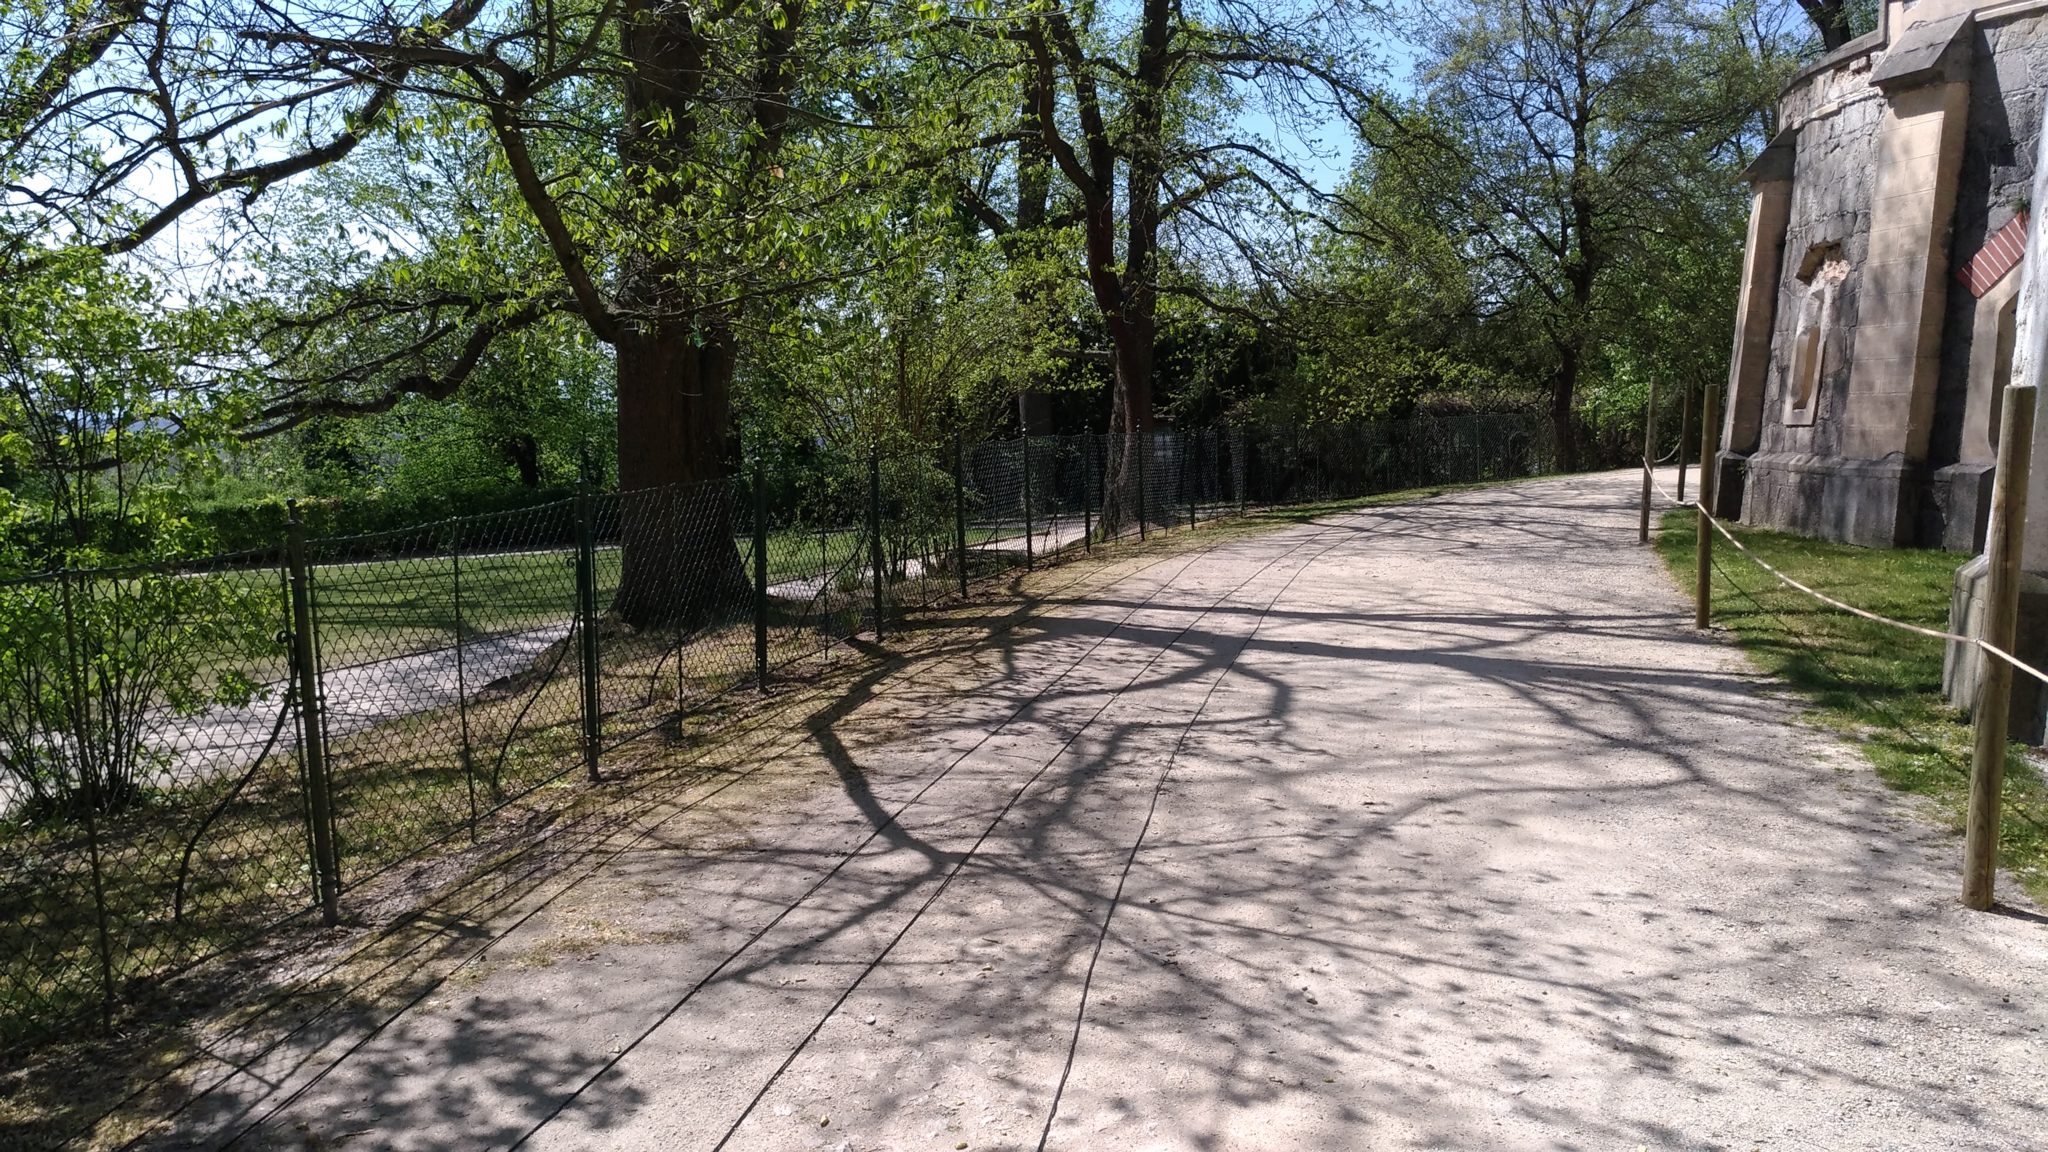
Our datacentres are 630 metres apart as the crow flies. They are separated by a rock and a hill about 50 metres high, on which stands the Hluboká Chateau with its beautiful chateau gardens.
To ensure sufficient redundancy, we decided that the first route would go around the rock and the second through the castle.
For the first route, we also took into account the connection to the route that will allow us to connect to the Internet via Austria. In the event of a Prague outage, the Czech Internet will de facto cease to exist (a large part of .cz domains is completely dependent on Prague datacentres) and, moreover, all routes lead through Prague. We will become resilient to such an outage – all traffic will go through foreign countries.
For the second route we considered two options. Drill through the rock to our second datacentre or walk through the beautiful castle gardens. However, it was too far to drill, so we finally agreed and we will put fiber optics to the castle and they can have 100 Gbps connectivity there. 🙂
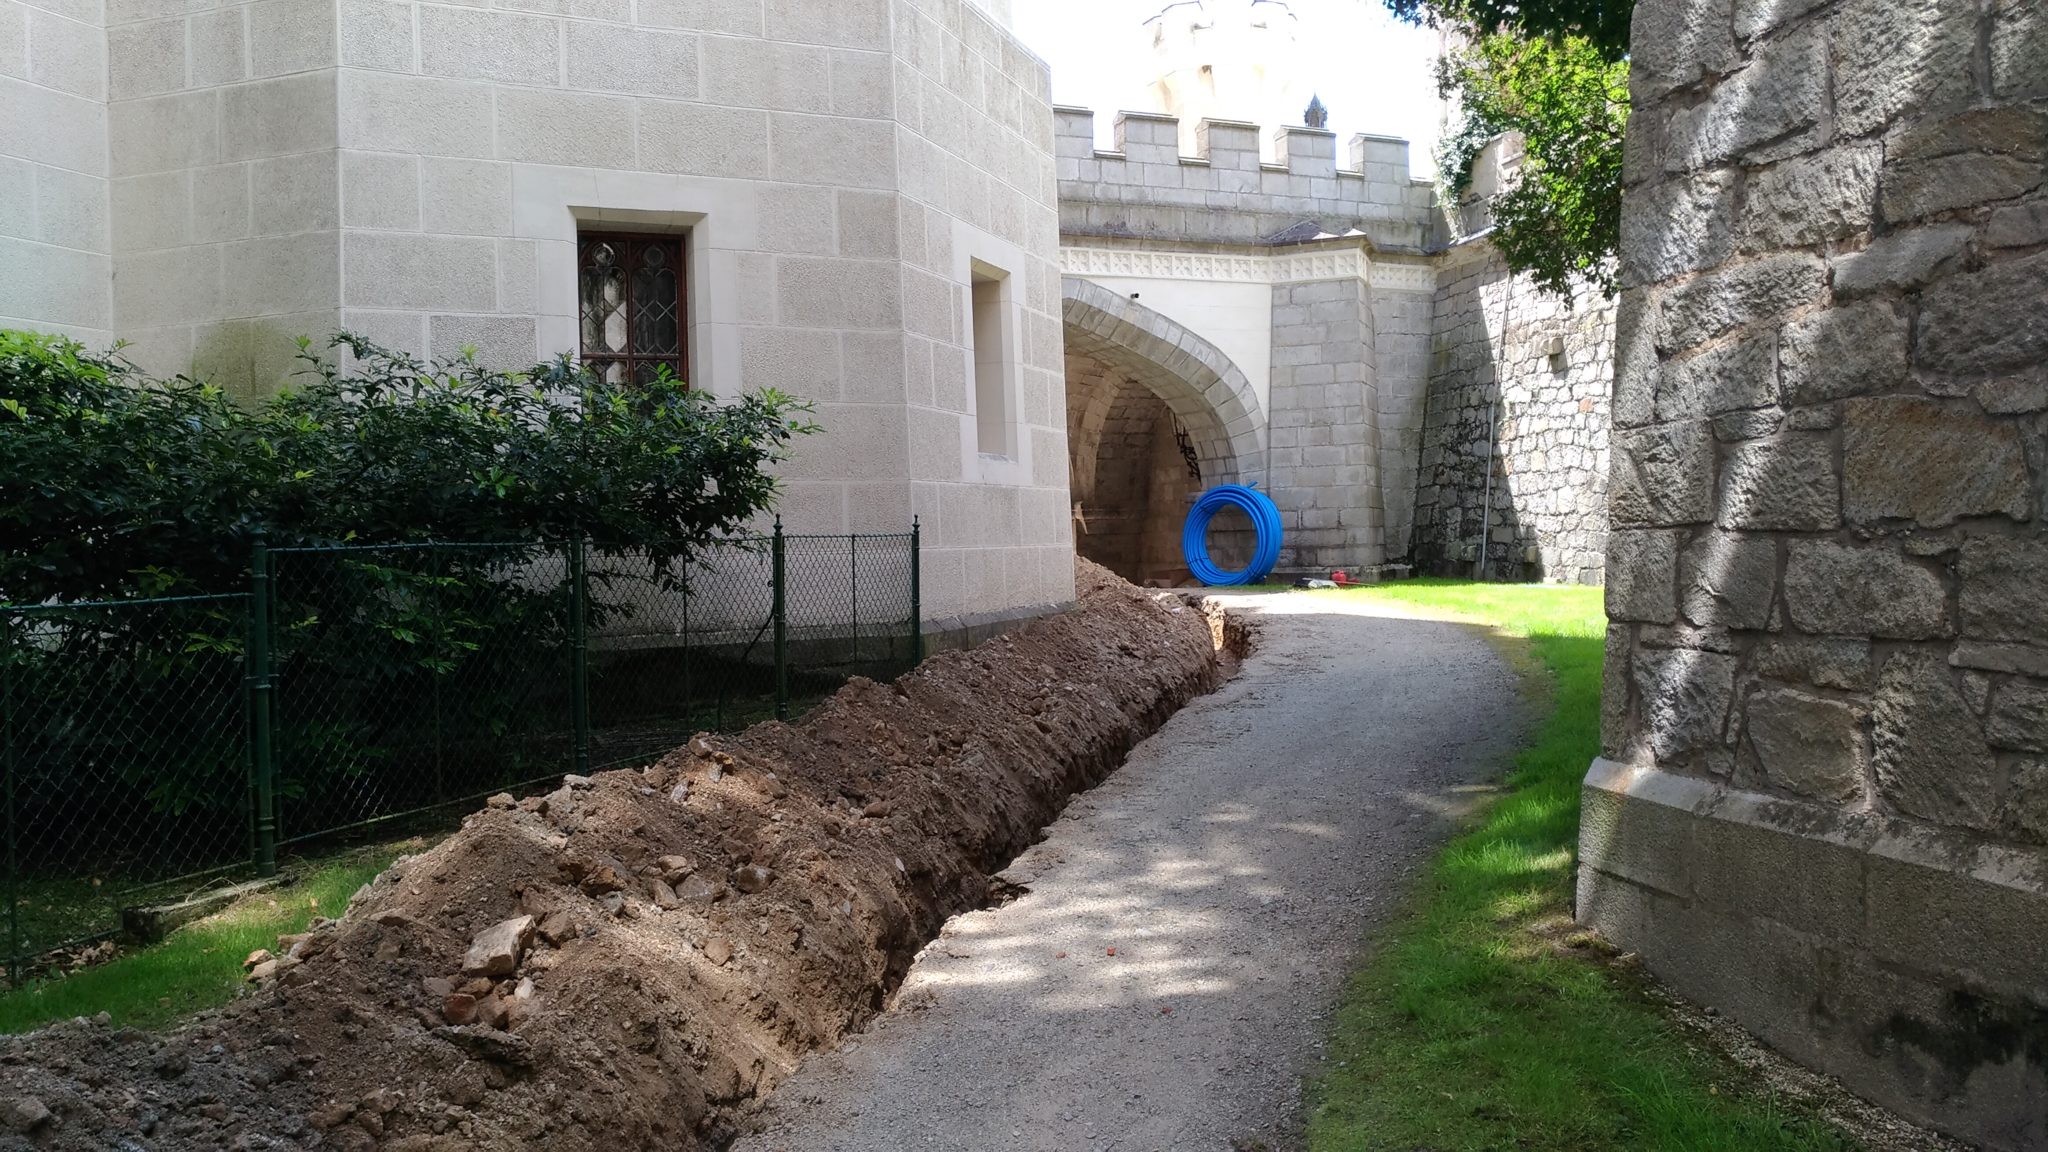
How to dig a trench for optics
Before digging, everything must be planned well. Especially what other networks to avoid or use. Of course, you must have the necessary permits from the city and landowners. Hluboká nad Vltavou is the tourist centre of South Bohemia, so it was necessary to adapt a lot. In the end, we dug for four years at different stages. We also used the cooperation with the energy company e.ON, which needed to lay its cables in the ground. We threw something in 🙂
The fiber optic cable itself must be protected by a microtubing or protector. This protects it from external influences such as water, pressure or animals. The guards are laid to a depth of approximately 60 to 100 cm.
The bottom of the trench is filled with sand. The protector is placed on top of it and backfilled with a layer of sand. In some cases, the excavation must be reinforced.
There is then a warning film over the sand. This serves as a warning for further excavation work. When a digger comes across it, he knows that there are some cables running underneath.
In addition to the protectors, we also laid a copper cable, which will allow us to accurately measure the entire route.

The rest of the excavation shall be buried with earth and the surface brought to the same or better condition. In our case, it was sometimes quite difficult, because we had to dig through the castle gardens. Another time we had to make a whole new sidewalk.
A few interesting facts:

- In addition, the high voltage cables are still in concrete protectors.
- In some cases it is not possible to bury protectors so deeply (e.g. in cities) where they cross another route and the placement of the protector (reinforcement) needs to be adapted.
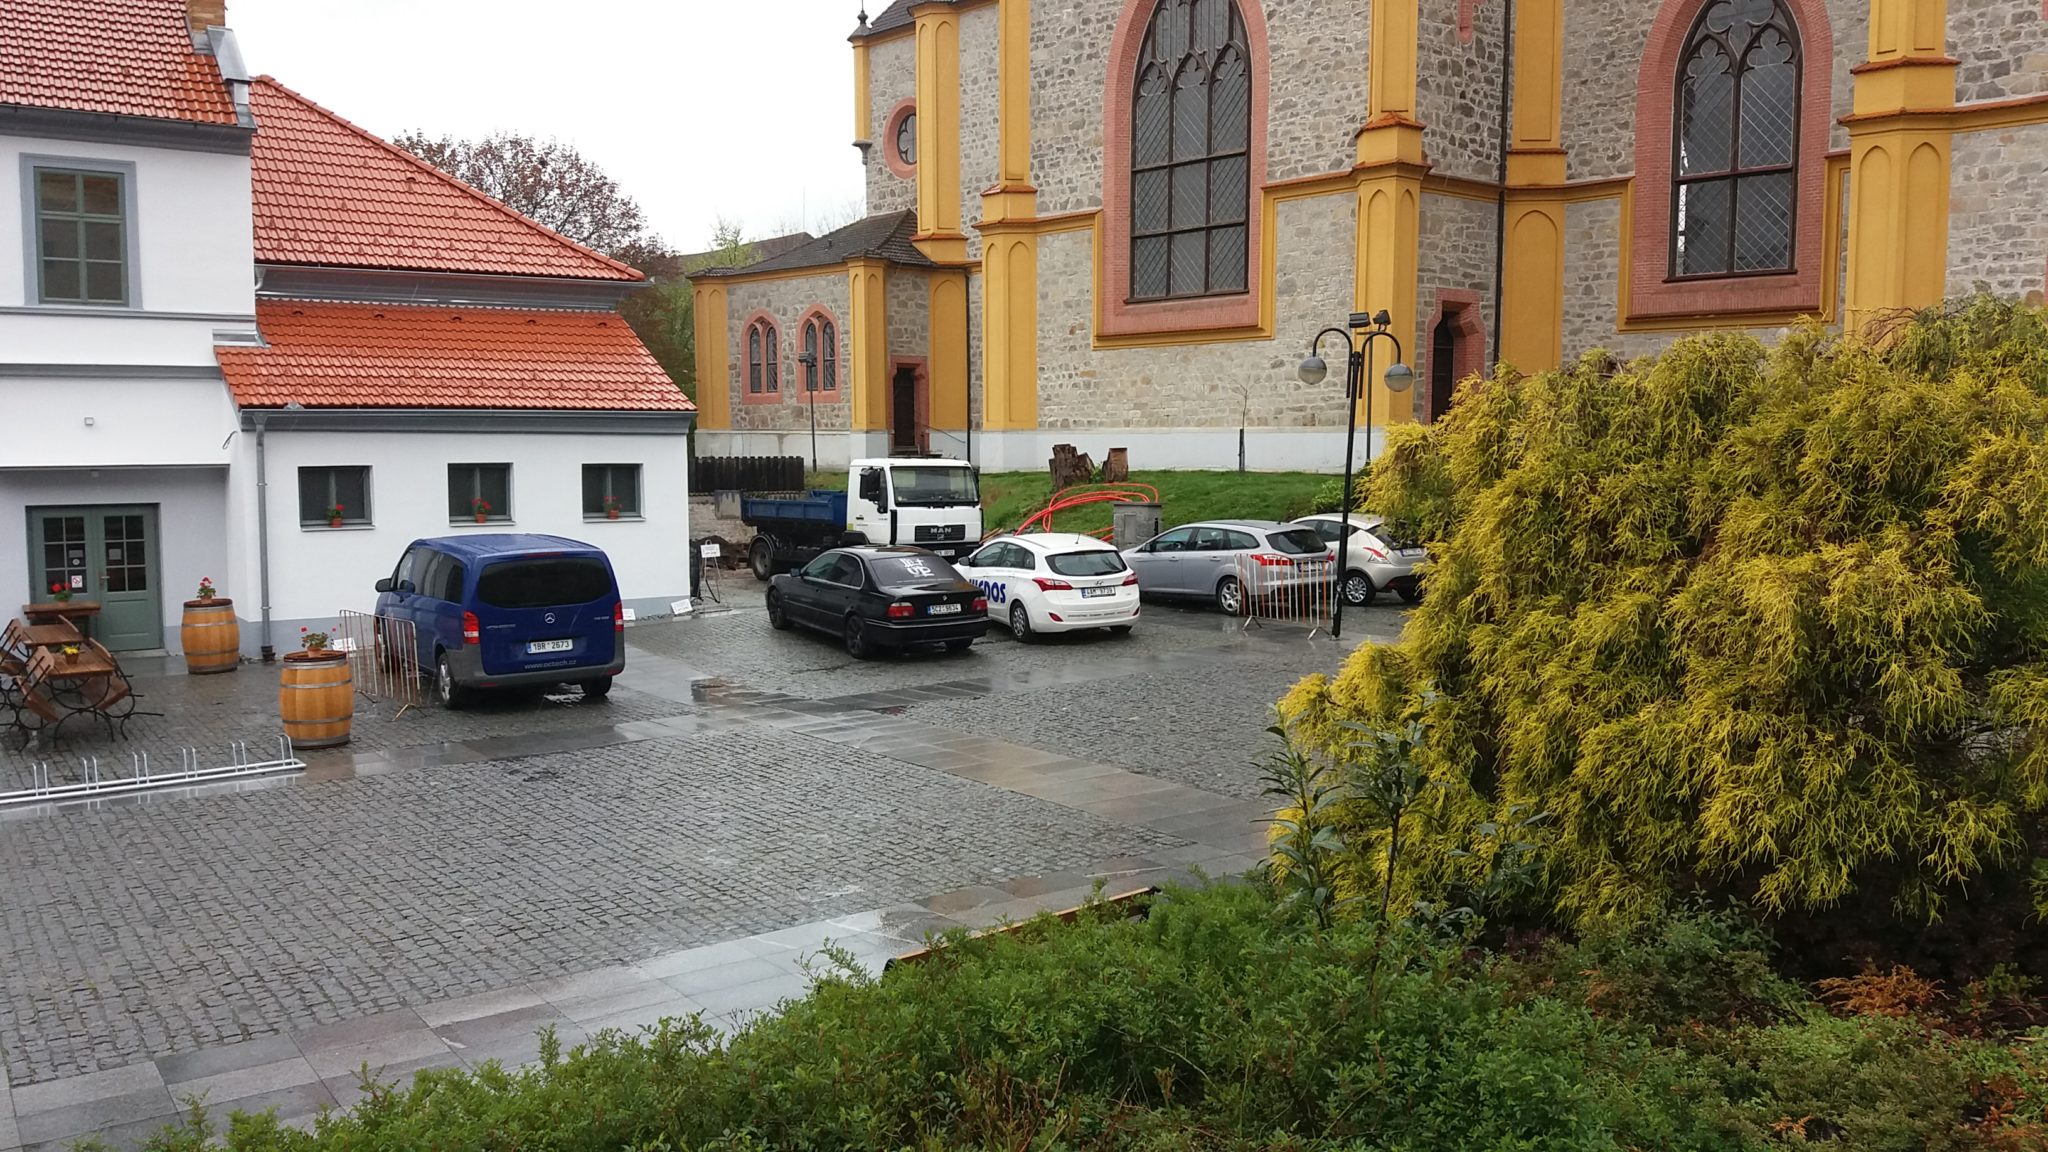
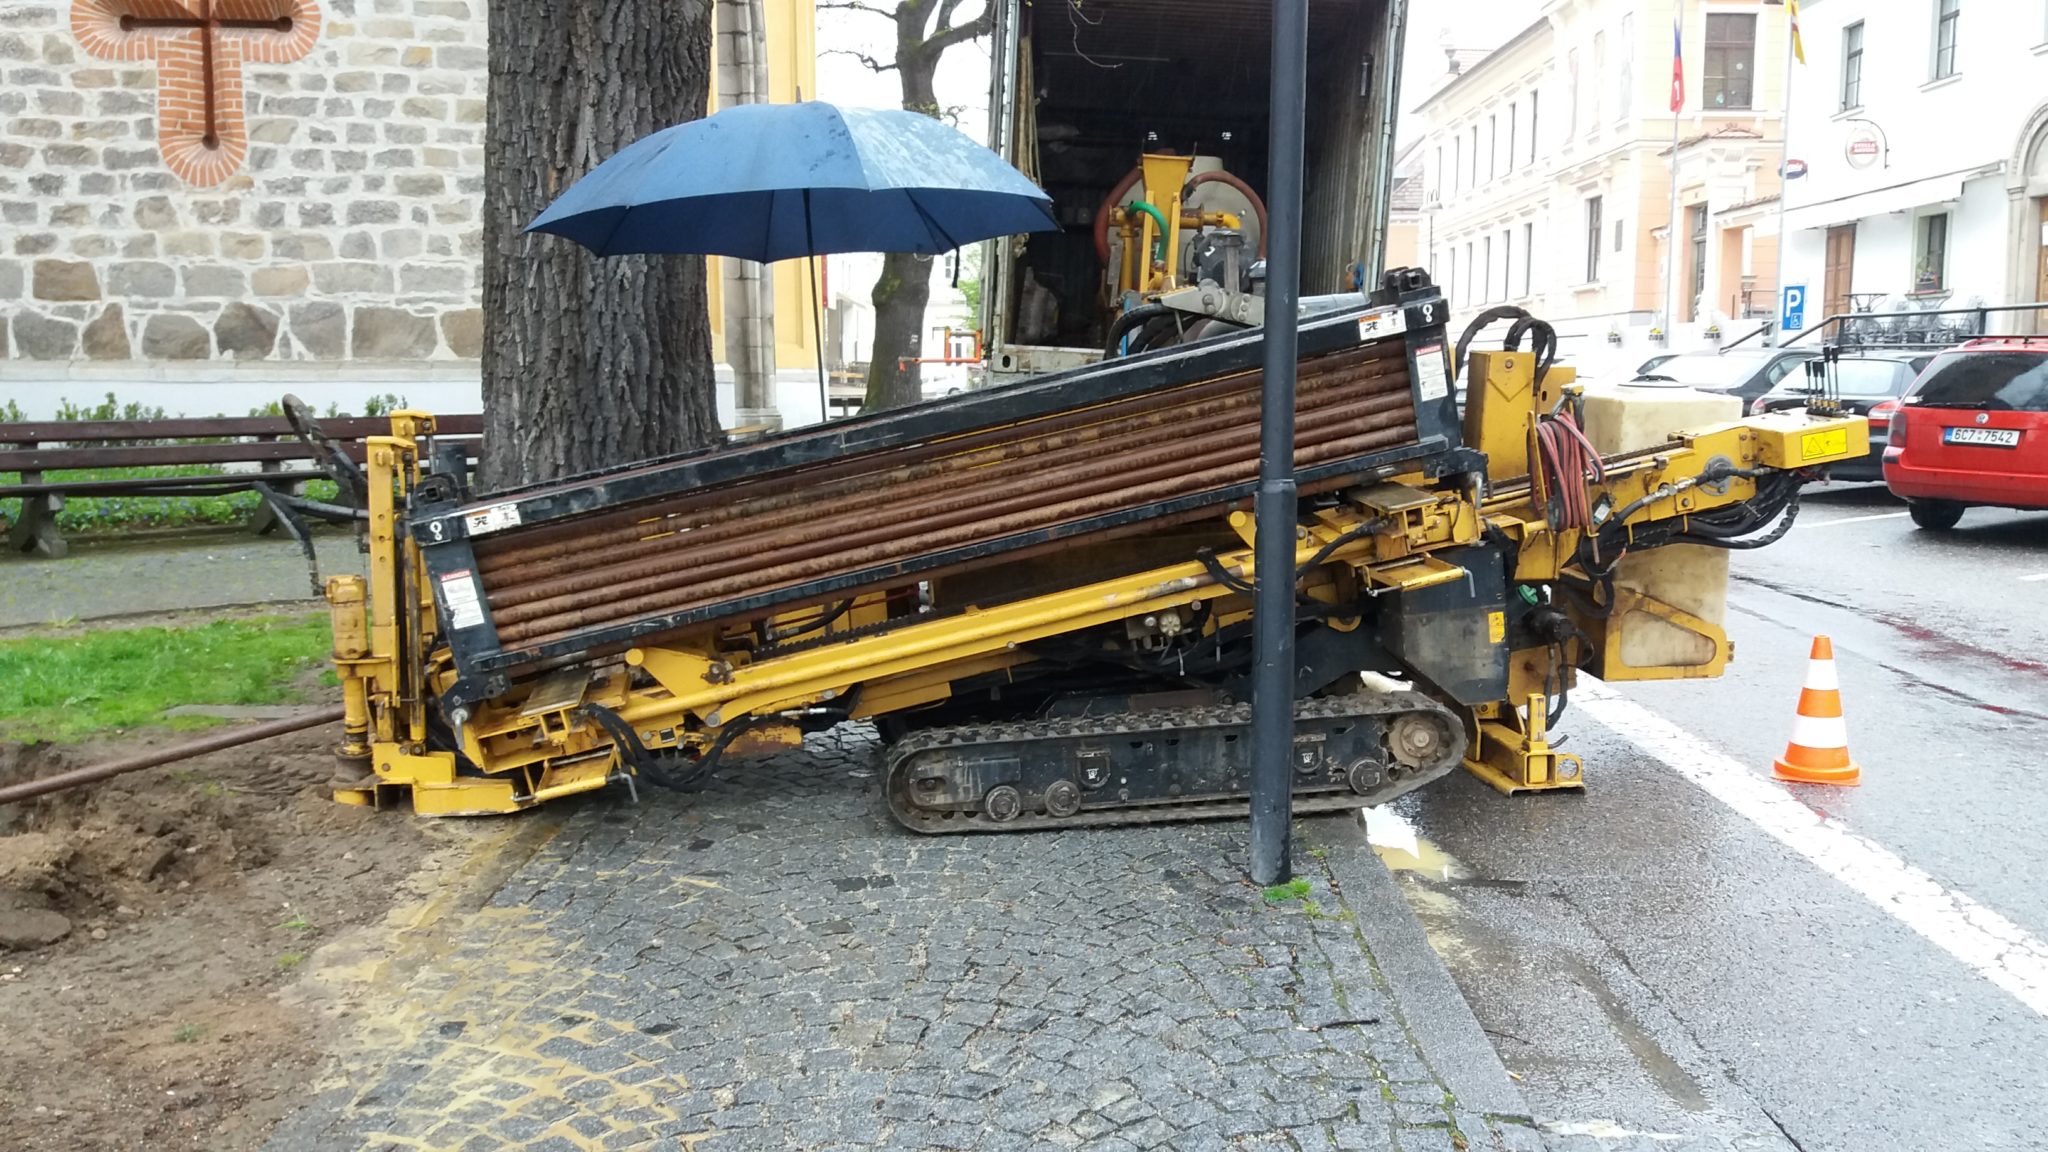
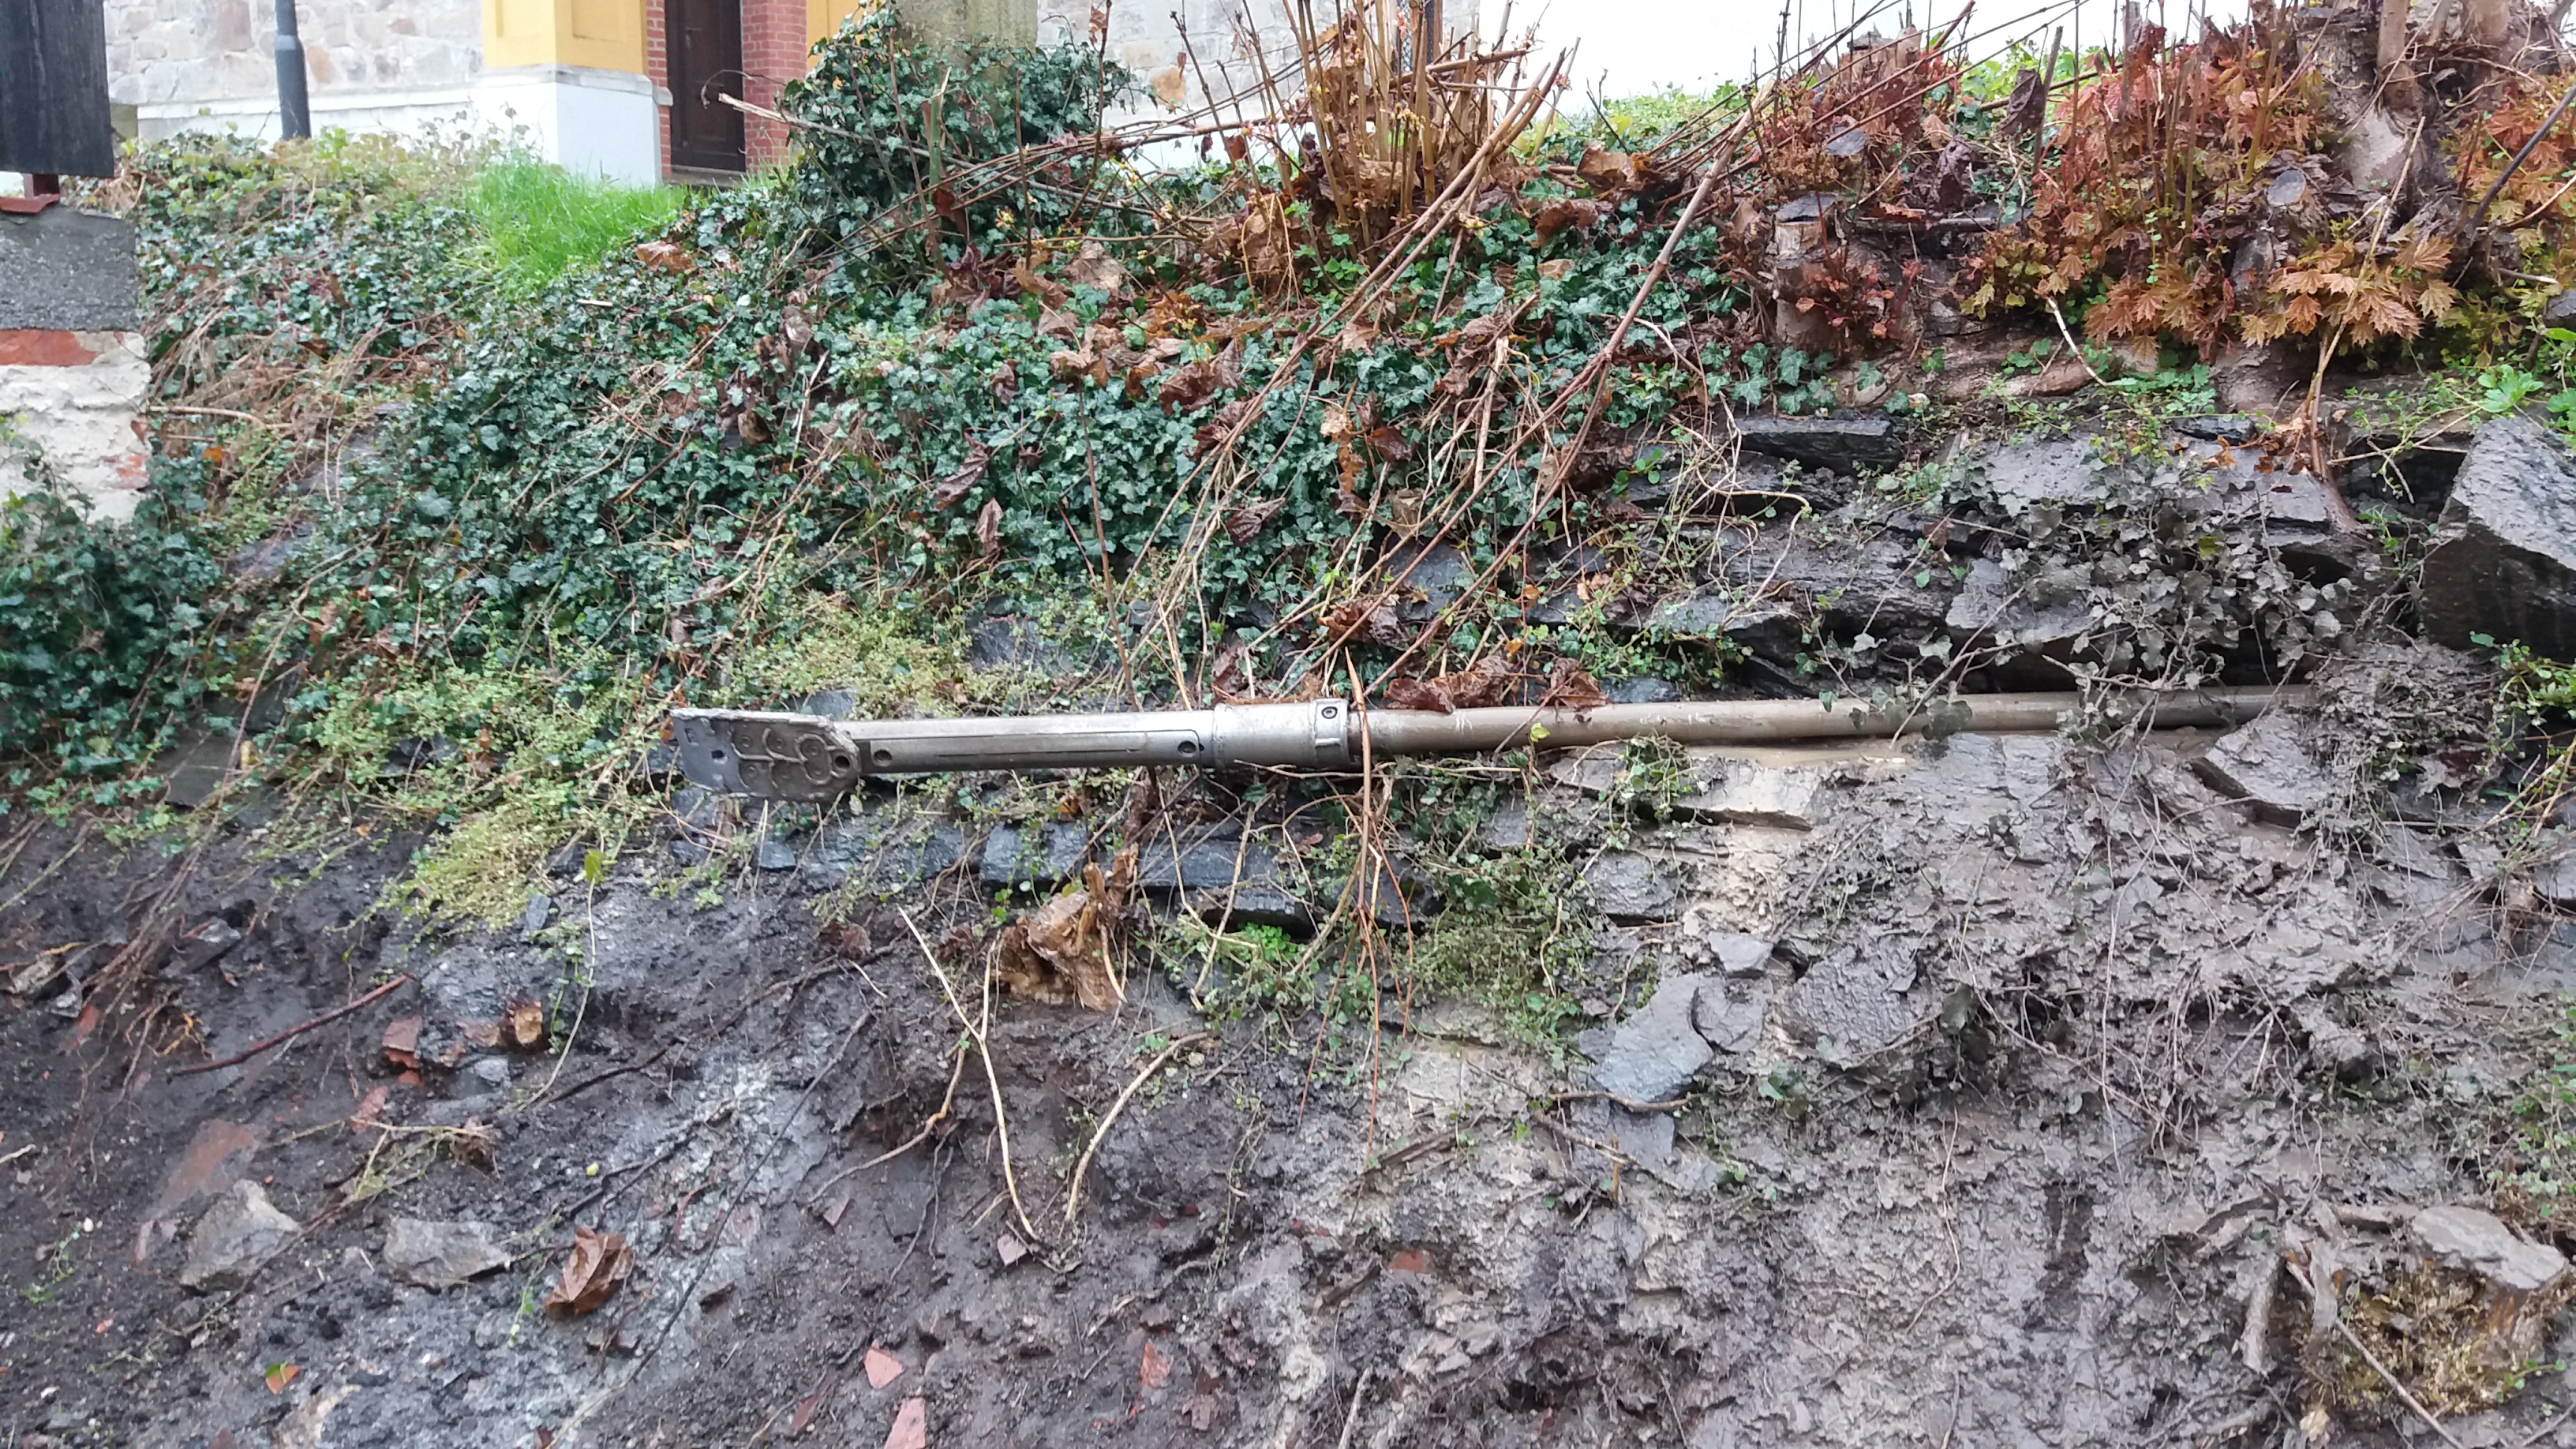
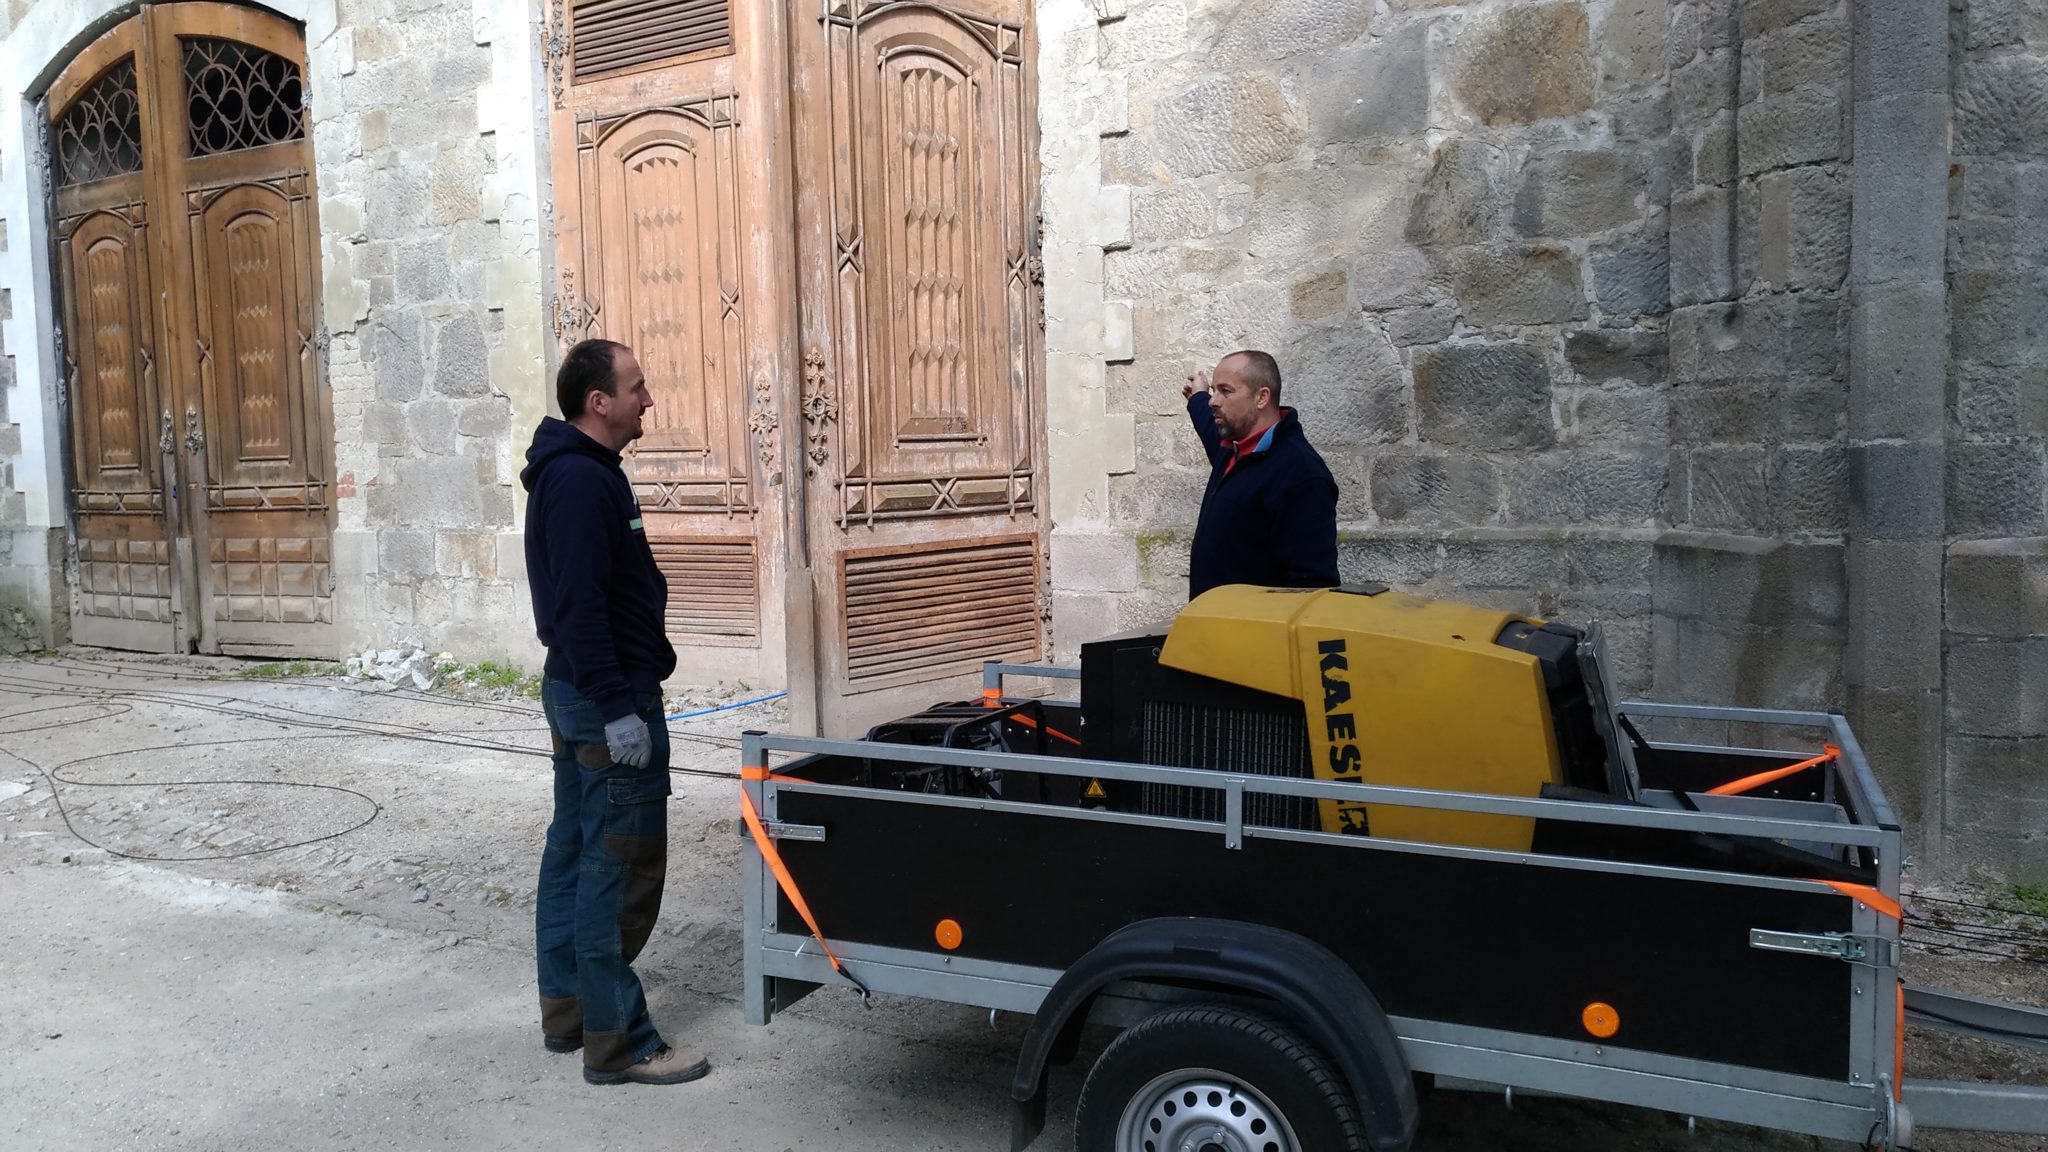
Controlled puree
You can’t always dig because, for example, a building is in the way. In our case it was a church. That’s when you can use the machines that can get protectors underground.

Optical cables
What are fiber optic cables? Some other time…
And what fiber optic cables did we use to connect the datacenters?


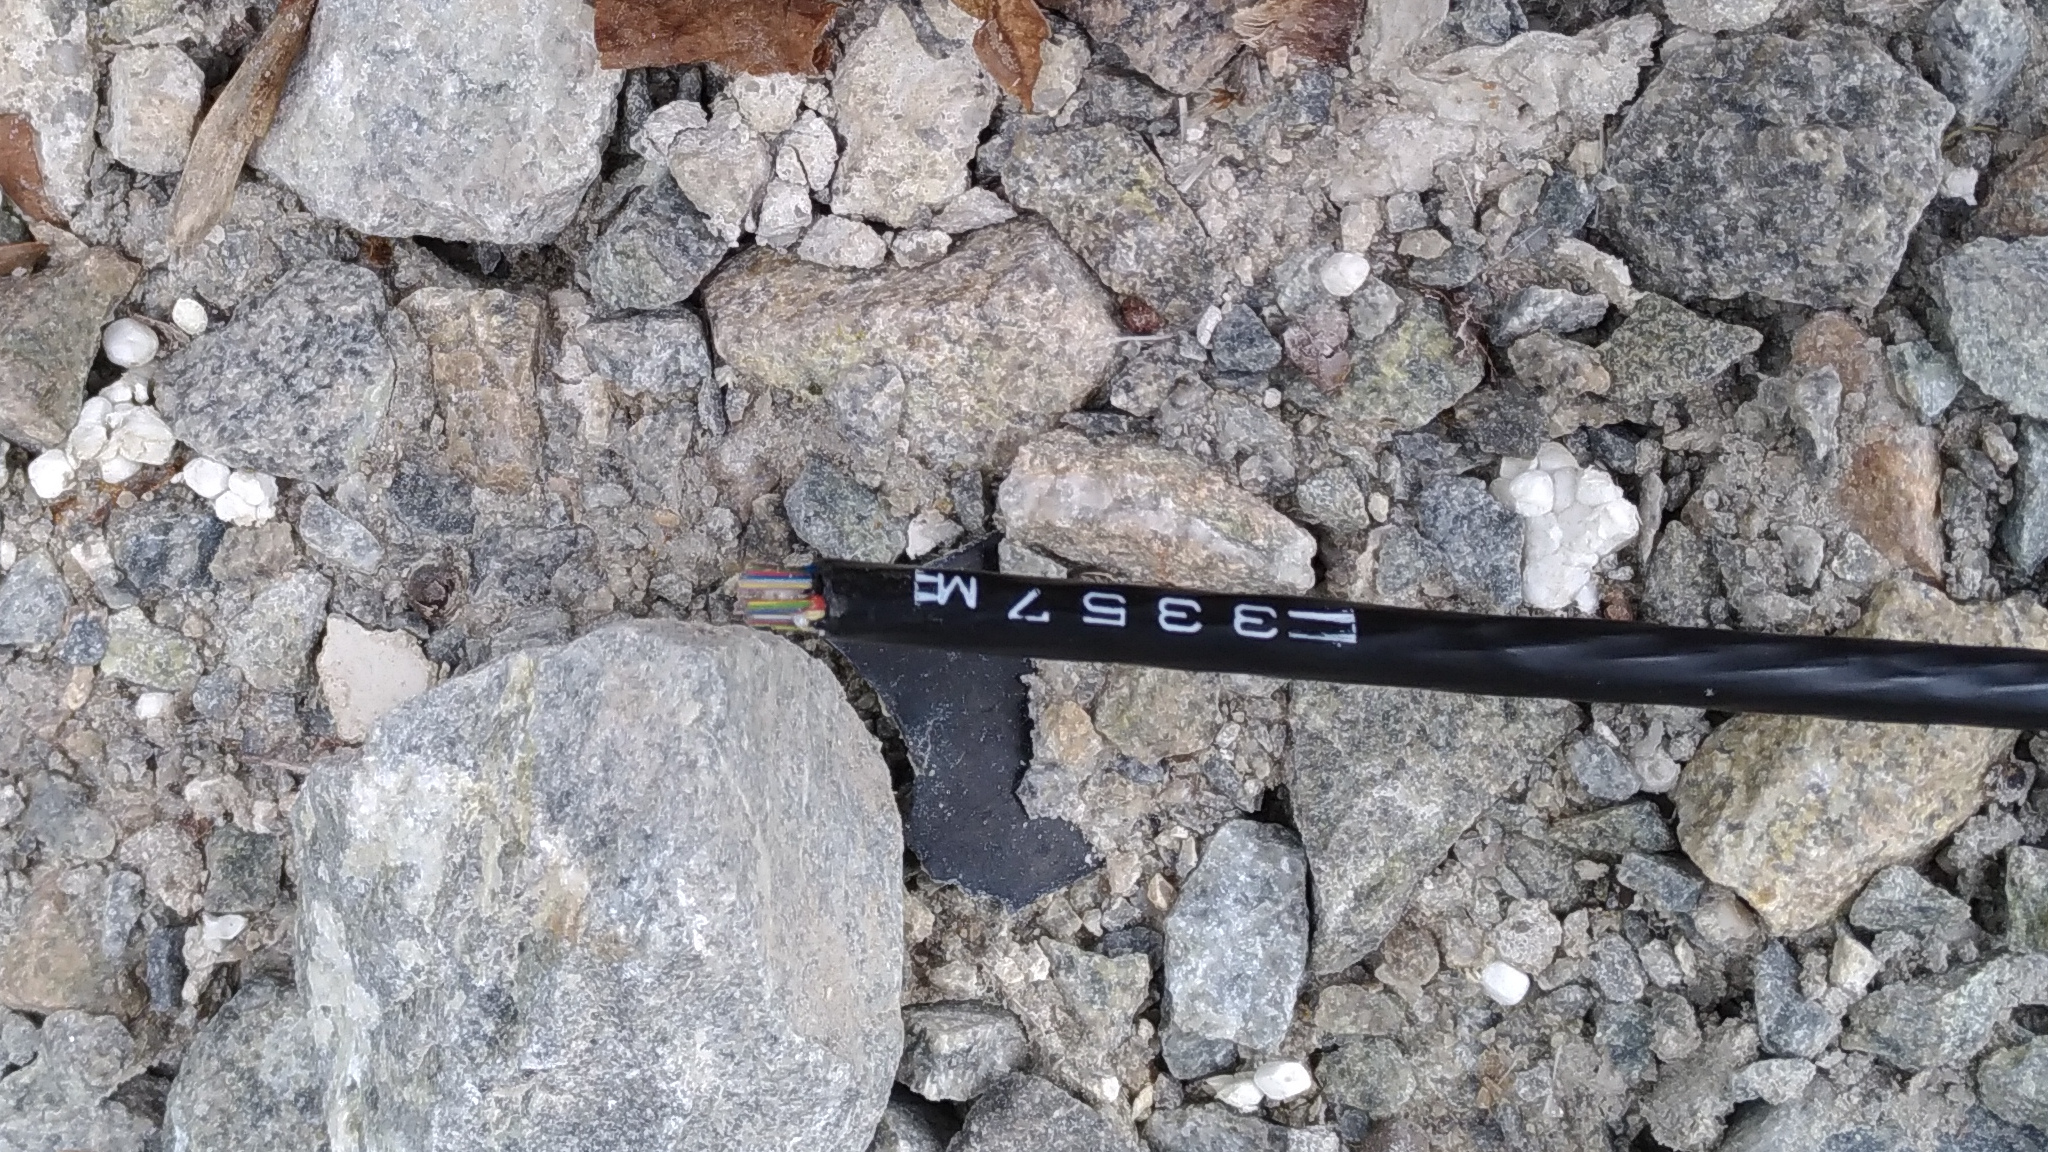
We use two fiber optic cables on each route to connect the datacenters. The first one is 12 threads and we will use part of it to connect third parties on the route.

There is one thread dedicated to each subject on the route, we have at least 7 of them to ourselves. Among those connected are, for example, the Hluboká Castle, the town hall and several hotels. Each of these fibers can be connected to a 100 Gbps port, but we assume it will be 1 Gbps. So we can say with exaggeration that in Hluboká we have a Renaissance castle with the fastest internet 🙂
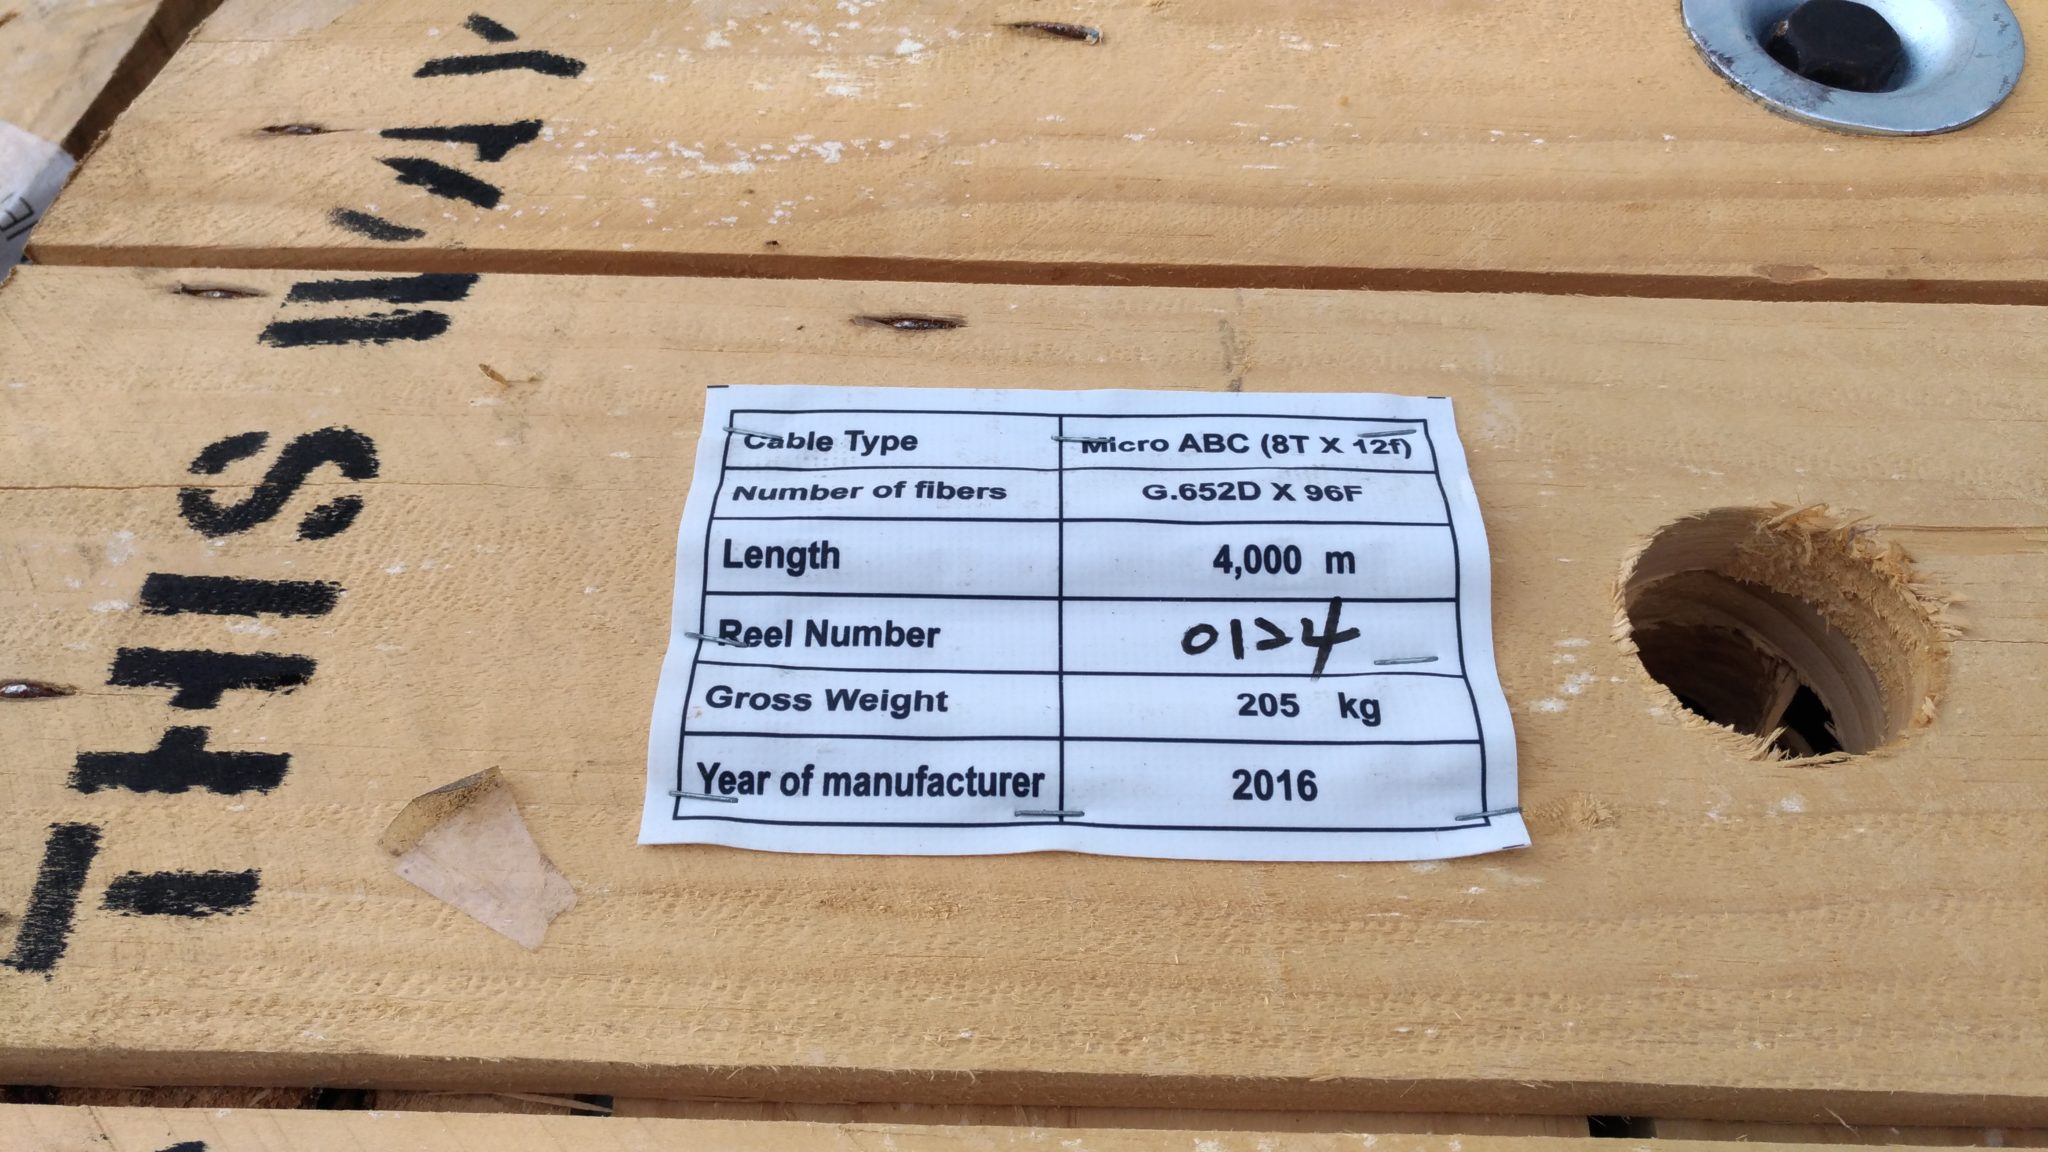
Another fiber optic cable is the “modest” 96 fiber. We have that blown, or rather retracted, for future service expansion and deployment of new technologies. Theoretically, we can create 9.6 Tbps connectivity between datacenters through it, and it’s doubled 🙂 Moreover, today there are technologies that can send different wavelengths of light over a single fiber and thus multiply the transmission capacity many times over… For example, a multiplication solution to 96x is relatively affordable… So we could have 96 threads and “multiply” each one to 96 and put on each one for example (for us already common) 100Gbps… We’re not even gonna count that.

You know, we’re not a quick-sale startup. We plan our development for 10 to 15 years ahead. We have big plans and we are moving forward. We’re not going to freeze in one place and just dream. That’s why we do everything ourselves. We design our own TIER IV datacenter, build it ourselves, learn how to blow fiber optic paths, and experiment with technologies like oil. We enjoy it and you can be a part of it with us, either as customers or fans 😉
Why 12 threads and not more?
Over the years of running the datacenter, we have come to understand that one of the most important things is to be able to fix a problem that occurs as quickly as possible. Welding optical fibre is not easy. Under ideal conditions, we can handle one thread in 5 minutes.
Even if you only want to weld 1 thread from all of them, you have to get to know it first. This is much easier with a 12 than a 96 🙂
Of course, you can’t leave a fiber optic cable lying around outside. It is necessary to weld it all together, quickly put it in a guard and secure it (bury it). 96tka is a full day’s work rather two, because you work outside.
That’s why we decided that the main one will be 12 threads on each route and 96 will be more of a backup.
Everything is twice. Once it is all (12 threads and 96 threads) over the hill (west to east) and the second time (again 12 threads and 96 threads) around the hill (south path). It doesn’t meet anywhere, it doesn’t converge anywhere, it doesn’t cross anywhere, and everyone comes into the buildings from a different side…
On each route we still have one or two 40mm protectors free, where we can blow microtubes and put another 96 to 144 fibers into each of them…
Everyone in Hluboká Nad Vltavou was very helpful and we thank them very much for that. It is a pleasure to build high-speed internet here.
Welding of optics
Welding optics is precision work that needs to be done by an experienced person out there. We have 3 of them in our company. It’s easier in the Datacentre under ideal conditions. This can be done by any colleague who can do it.
We have our own optics welder so that we don’t have to wait for a specialist company in case of a problem. Any of my colleagues who want to learn how to weld optics can do so.

A quality optics welder costs hundreds of thousands, but we treat it as a necessity. If you want to run a datacenter, you just need it. For us, it is even more worthwhile because we operate and maintain several local fiber optic routes.
Cord crimping
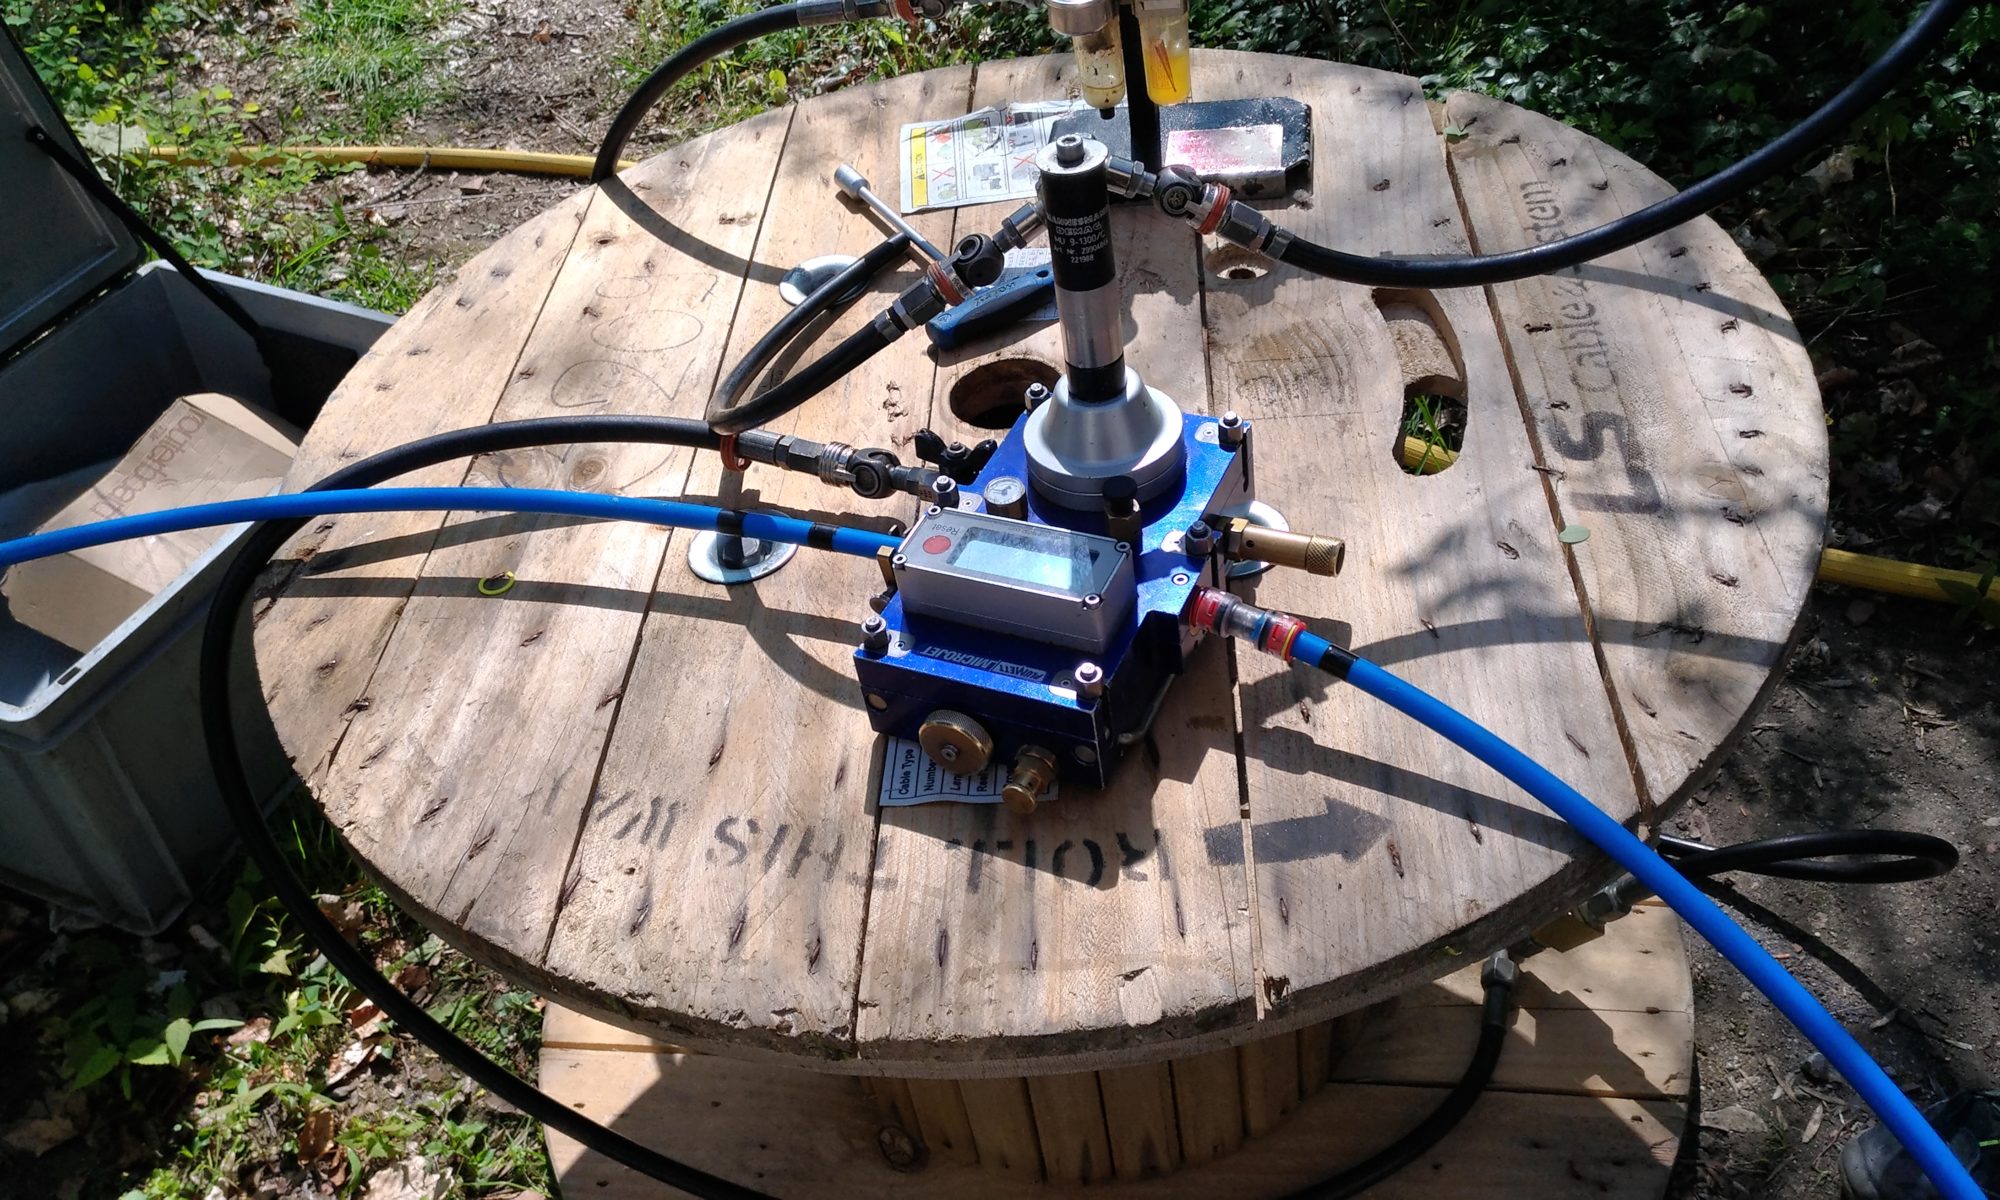
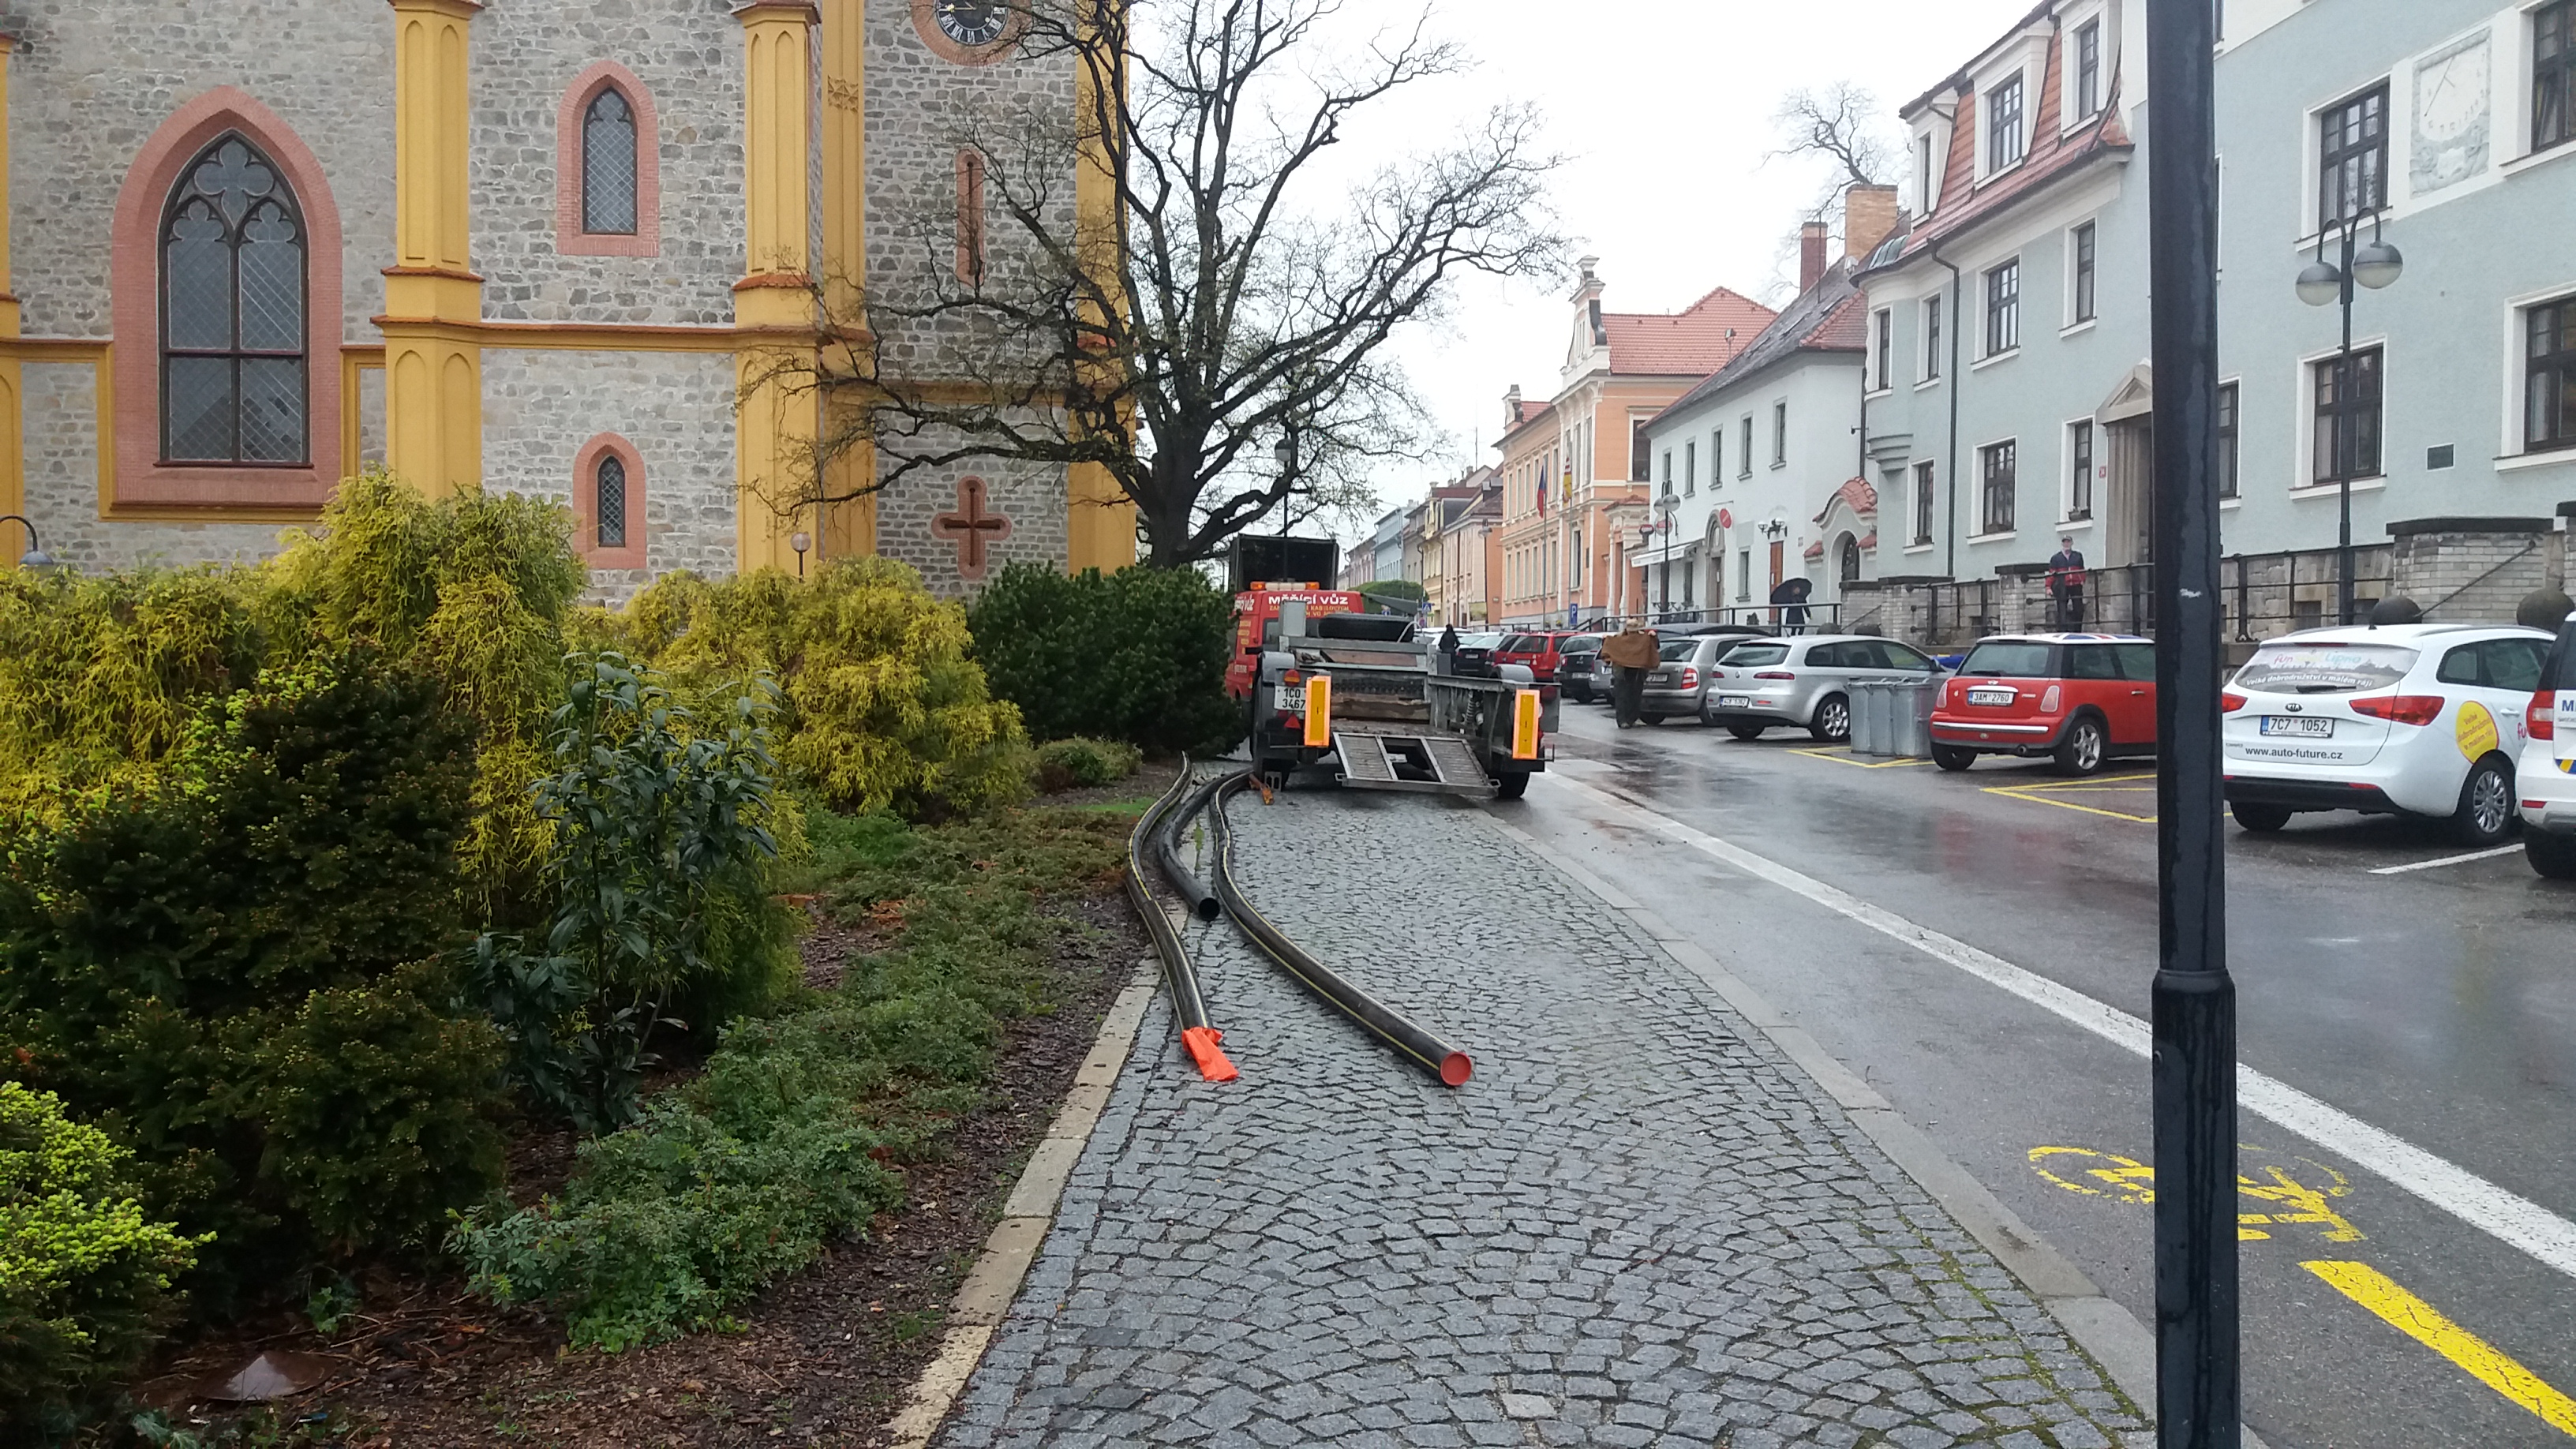
When you have everything ready and calculated, it’s time to get the fiber optic cable into the protectors and microtubes. For this purpose, the Inflator is used. It is a device that is driven by a compressor. This spins the wheels that push the cable in while keeping the air inside, so that the cable floats and reduces friction as much as possible.


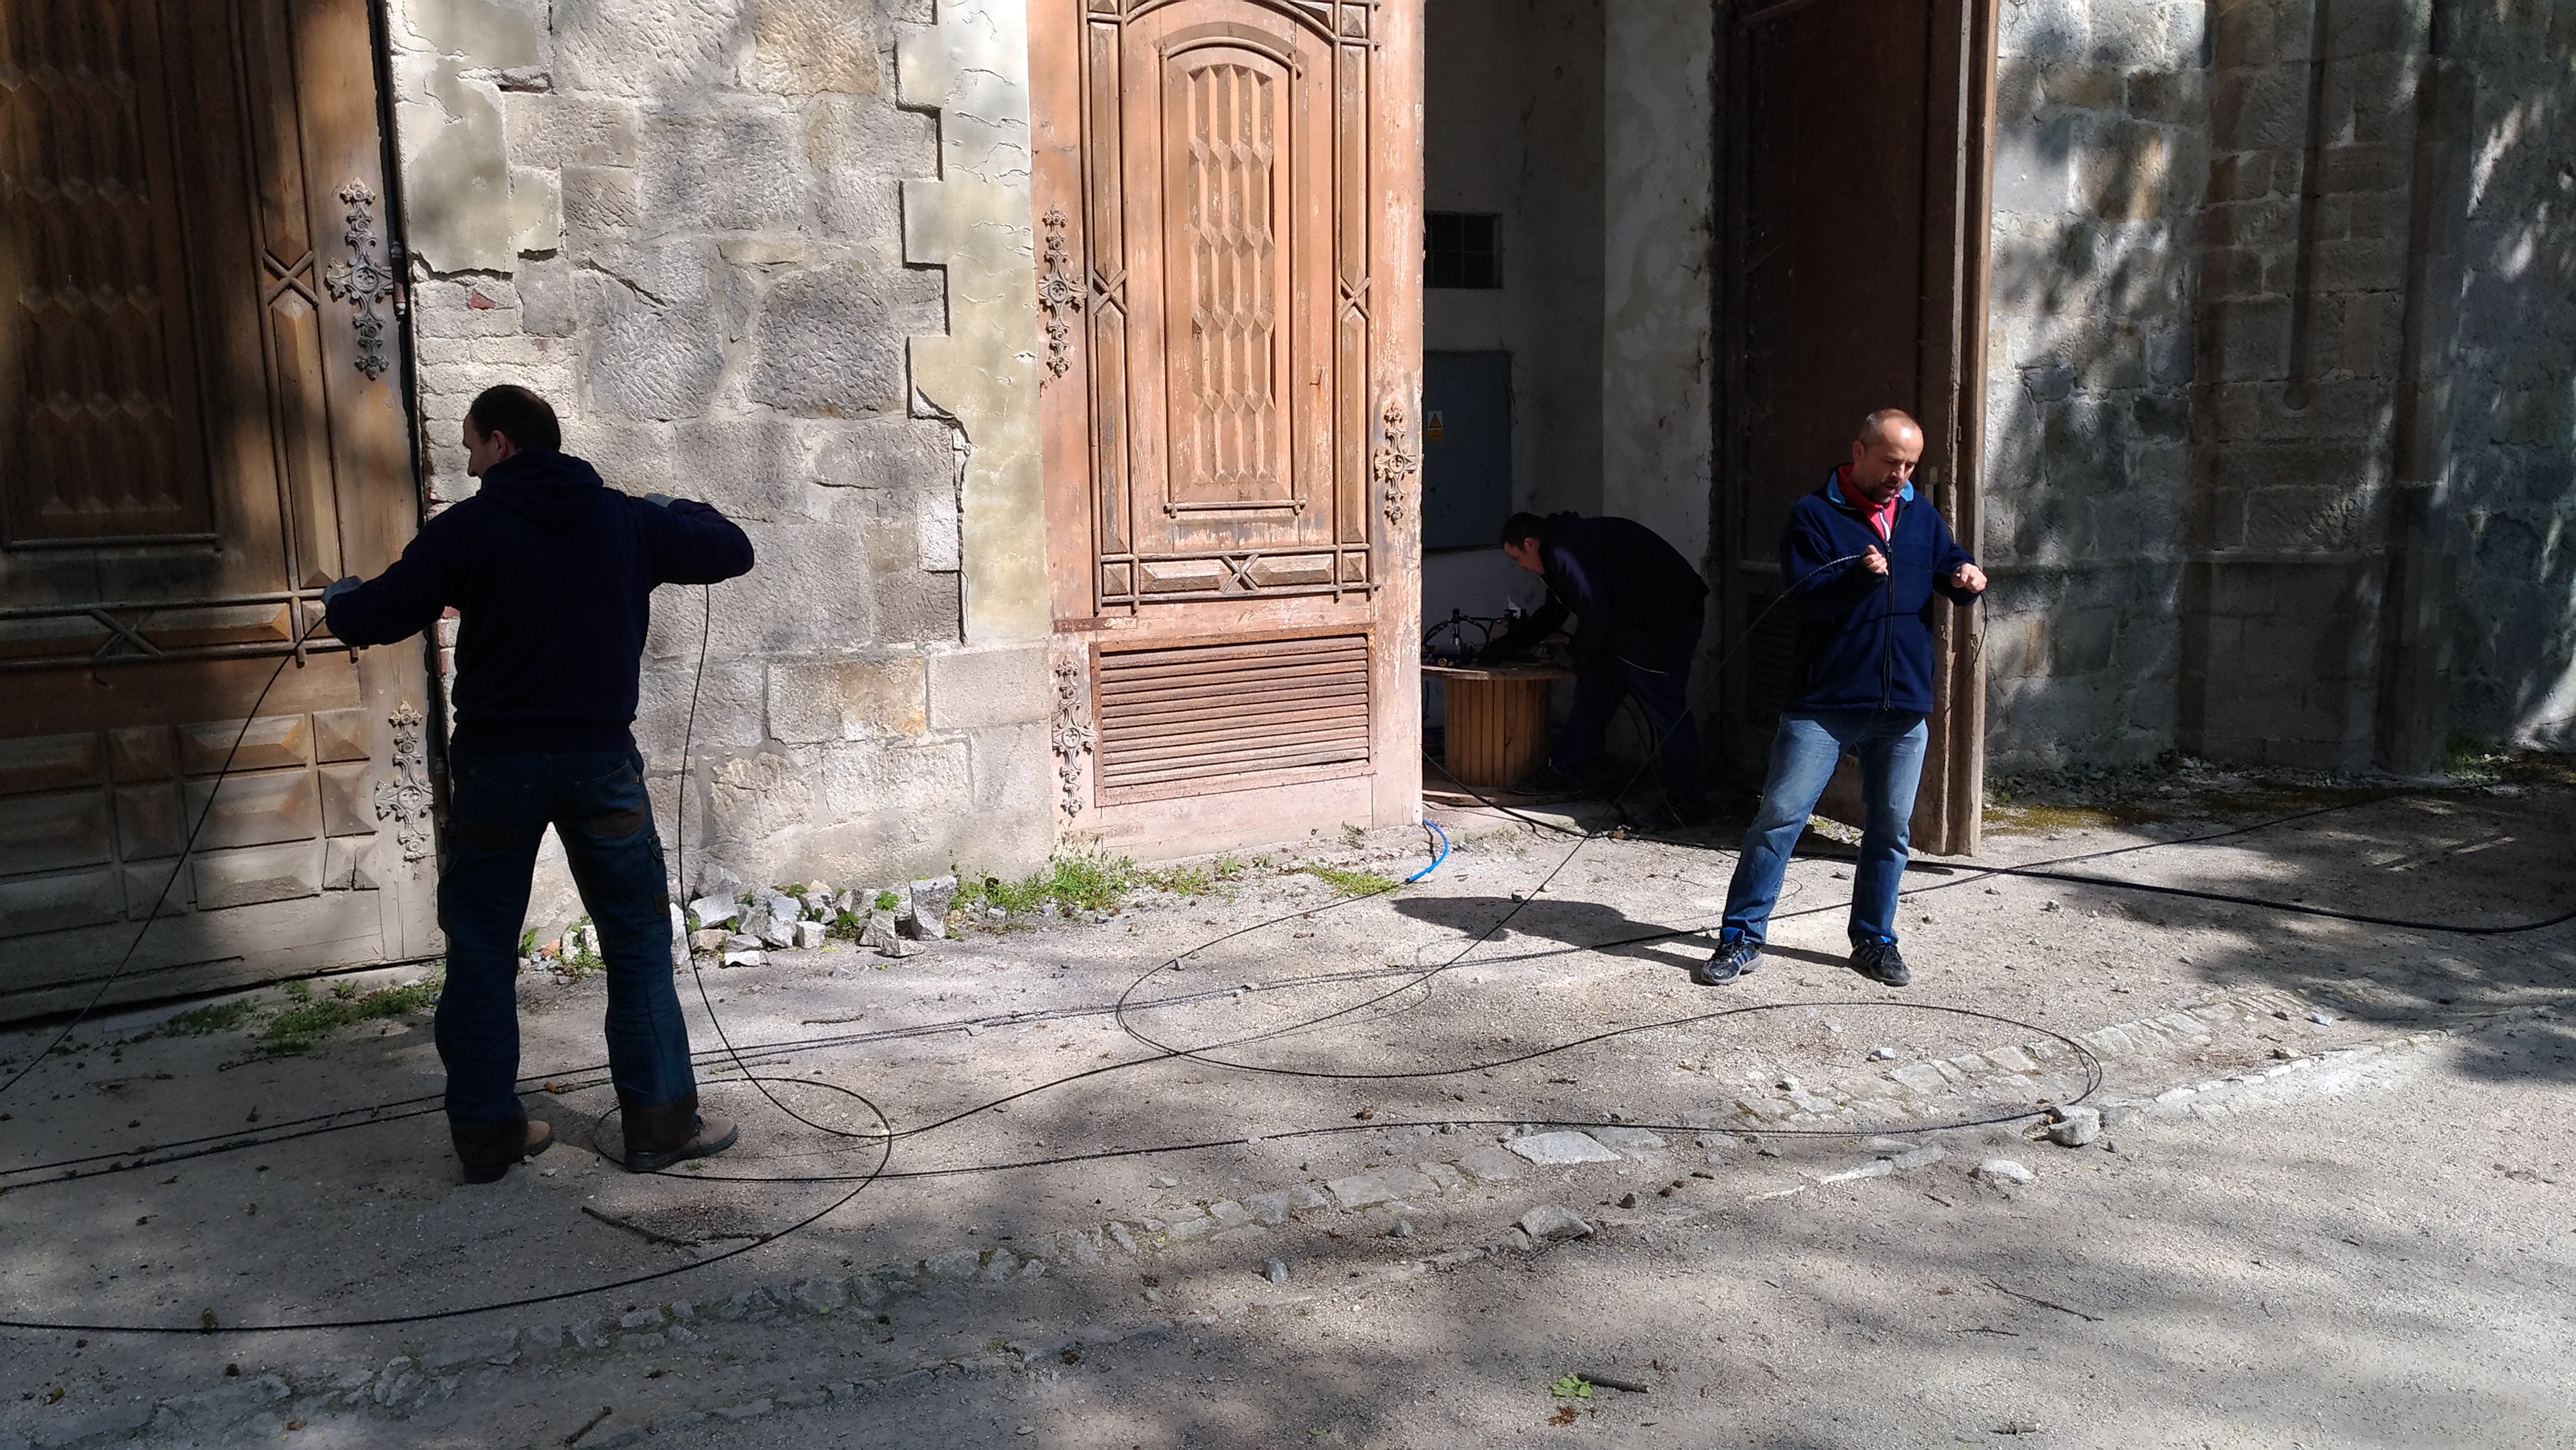
However, we were not completely successful in the beginning. Therefore, we chose the tactic of unwinding the cable forward and spreading it out on the section that was just blown. Especially in the castle gardens we were an interesting attraction for tourists.


Everything looks very simple at first glance. In reality, however, successful blowing depends on proper preparation.
Our biggest enemy was humidity. Once you hit the water, it’s over. It is therefore necessary to dry the microtube properly first. A powerful compressor took care of that. Then we ran ordinary cut dishwashing sponges through the microtubes.

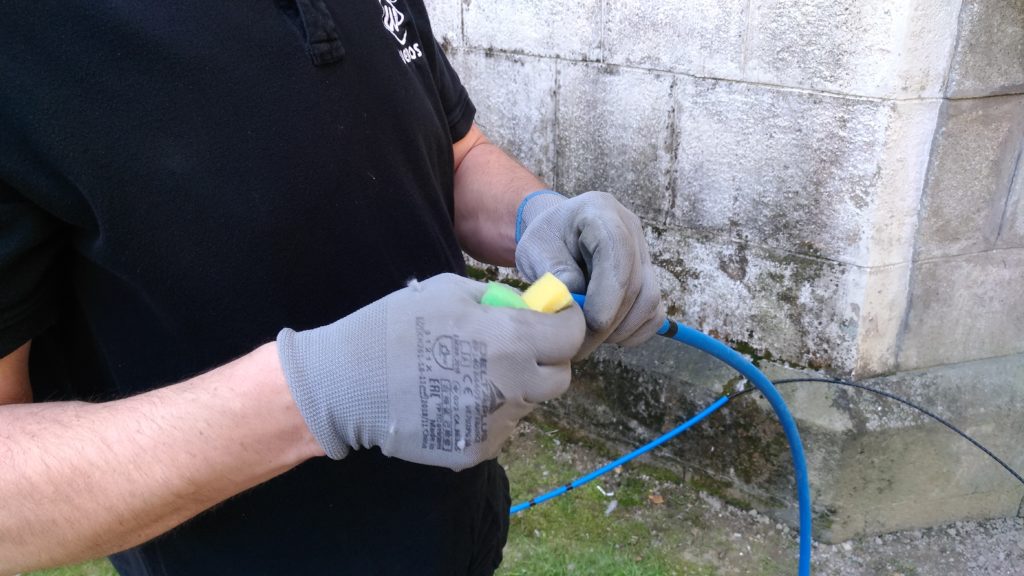
Next come sponges with lube to lubricate the entire route. Well, you can see what it looks like when the sponges arrive in the following video.
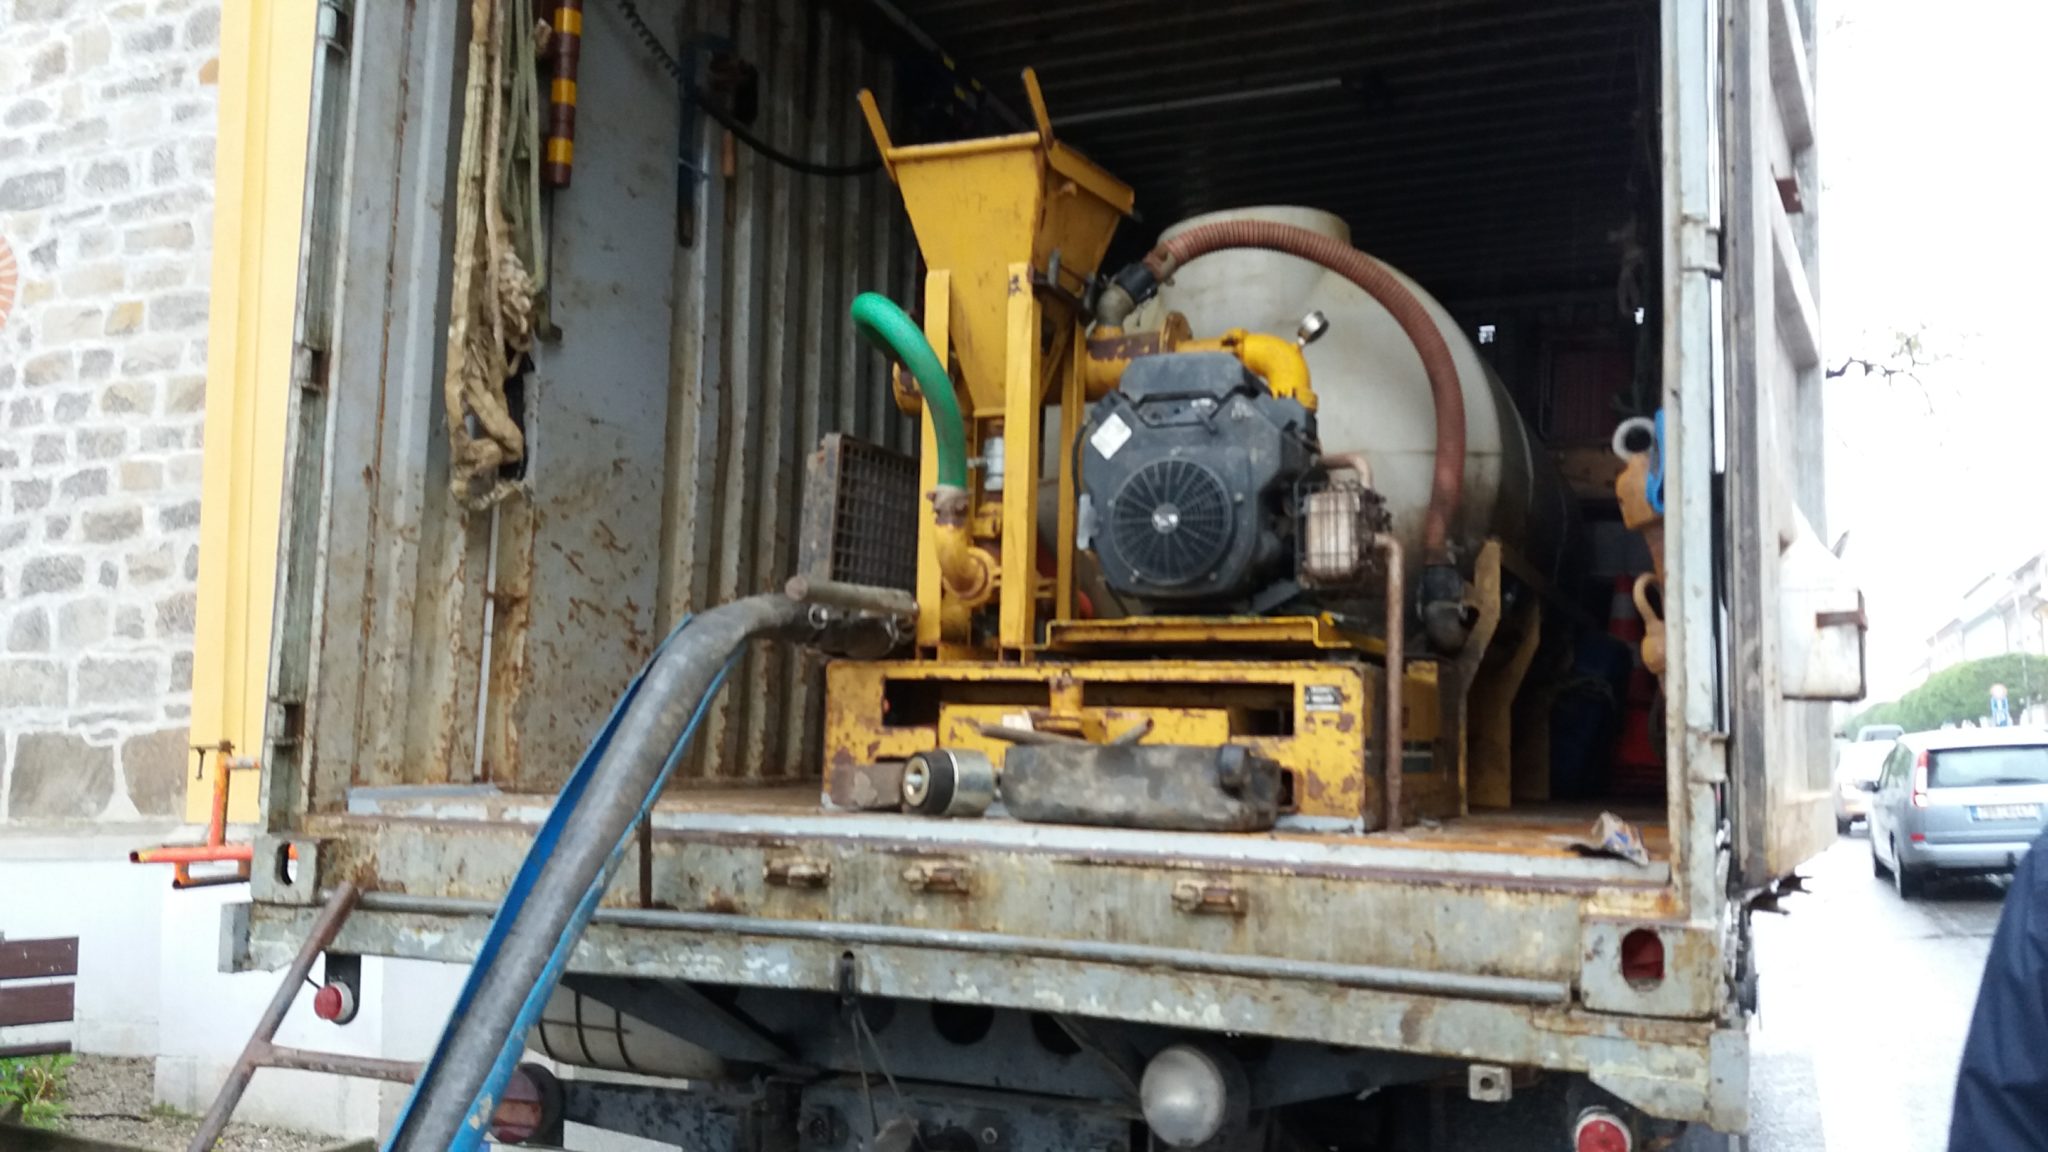
With microtubes it was not such a problem, but with 40mm protectors we were no longer fighting with moisture, but with water. Our small compressor was not enough and we had to get a big cat. He’s really into the blowing thing. Well judge for yourself 🙂
The video is not in the best quality. Our boss caught it quickly when he went to see how it was going. Originally, the water was splashing up to 6 meters high 🙂
Through the 40 mm protectors, it blows a little differently. You need a stronger compressor. Much stronger. We borrowed it and made our own solution for inflating. We pieced the whole thing together from a few thousand hobbymarket parts. We played around with it a bit and it worked out great in the end. We have blown both cables (12 fibers and 96 fibers) at the same time, over distances of over 500 meters at a time. It took us a while to refine our own inflatable technology, but then it worked. In the end, we blew cables of about 1,700 meters in length and both at the same time.
We helped a little by blowing a steel cable. First we tried 1 mm, but one of our colleagues broke it while stretching (watch out for him)… So we ended up buying a 2 mm rope. We blew it with a strong compressor and then we tied the fiber optic cables to this rope. We hooked up our inflation technology and turned on the compressor and it was off and running. 2 colleagues were unwinding the cables from the coils and didn’t keep up. They were the most sweaty of the entire lineup of several people involved in the whole event. One was operating the compressor, one was “pouring” the cables into the protector. Two of them were unwinding the cables from the coils. And two people on the other side were taking the cables out of the protectors and straightening them.
Our whole WEDOS inflating 2 cables simultaneously into a 40 mm protector cost several hours of thinking and experimenting and otherwise thousands of crowns. In addition, we rented a very powerful compressor, which we ended up renting for a thousand crowns per day. And we did everything ourselves and know every detail of our route.
It was a bit of team building.
Unfortunately, the weather was not in our favor and we did it in the rain and in the cold. And we don’t have documentation. Which is a shame, because it was such a nice piece 🙂
Conclusion
The next big stage of the construction of the second datacentre is over. Now that it’s connected to the internet, we can slowly start the test run. Fill the first oil vats, load them with HPE Moonshots and start testing the oil services in the new conditions.
We hope you can help us with all this 😉